11.1.4. CHECKING AND REPLACING OF HARD DISC DRIVE
1. Top Case
· Remove 2 Screws (A) on side
· Remove 3 rear Screws (B) on rear
· Remove Top Case
2. Hard Disc Drive
· Remove 4 Screws of HDD Angle from Main P.C.B.
· Remove HDD ATAPI Connector
· Remove Power Cable from HDD
· Remove 2 Screws from HDD to disconnect HDD Angle
· Put Replacement HDD on Insulation Board
· Connect Extension Cable:
− between Main P.C.B. and HDD with RFKZ0339
− between Digital P.C.B. and HDD with FFC Extension Cable RFKZ0366
Caution
Orginal screws should be used.
Caution for Removing Hard Disc Drive
Put HDD with HDD Angel up side down and remove the screws without giving a shock to HDD.
40
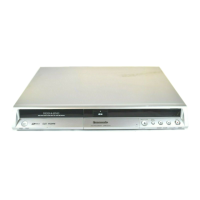
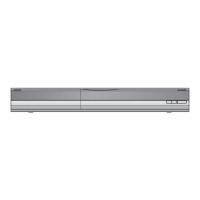
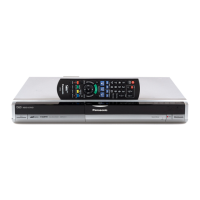
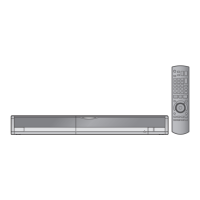
DMR-EX75EG / DMR-EX75EC / DMR-EX75EB / DMR-EX85EG / DMR-EX85EB
 Loading...