Live to black wire
(Ventilating fan)
Fig.5
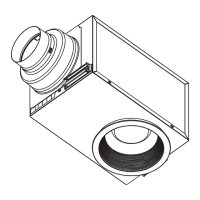
IMPORTANT:
Please remove the tape, which protects the
damper during shipping and installation, from
the duct adaptor as shown below.
Damper Adaptor
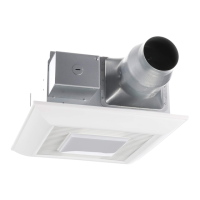
Connection method for 3 inch adaptor connector
Duct tape
INSTALLATION (NEW CONSTRUCTION)
The fan position between joists from 16" to 24"
on center can be adjusted flexibly.
ACAUTION
O
Please wear gloves to protect hands during
the installation as follow.
1. Remove the junction box and duct adaptor from
the fan housing before installing the fan. Remove
the machine screw (M4X6) and disconnect the
electrical molex cable by pinching the tabs to insure
the junction box and adaptor clear the fan housing
when sliding the adaptor off the housing. (Fig.1)
2.
Bend down 4 tabs for positioning; install the
Flex-Z Fast" bracket to joists by using the 2
pre-installed tapping screws. (Fig.2)
3.
Adjust the length of Flex-Z FastTM bracket
to fit the spacing between joists; fix the
Flex-Z Fast' bracket with the other
two pre-installed tapping screws. (Fig.3)
4.
Remove junction box cover and secure conduit or
stress relief to junction box knock-out hole. (Fig.4)
5.
Install the circular exhaust duct and secure it with
clamps, or ties and seal it with mastic or approved
foil tape. (Fig.4)
6.
Install the adaptor to Flex-Z Fast' bracket by
using 2 self-drilling screws. (Fig.4)
7.
Refer to wiring diagram on page 5. Follow all the
local electrical safety codes as well as the National
Electrical Code (NEC). Using UL approved wire nuts,
connect house power wires to ventilating fan wires.
(Fig.5)
ACAUTION
O
O
Mount junction box cover carefully so that
lead wires are not pinched.
Insure the junction box cover encloses all the
wires and is completely flush before locking
in place with the attached screw.
6
 Loading...