3. Place the special shading paper packed with the scanner in the hopper tray, and select [OK] on the
message box.
• Check that the special shading paper is not dirty, damaged, or has any other imperfections. Dirt,
damage, or other imperfections will cause the image quality to deteriorate.
• The image quality also deteriorates if any other kind of paper is used by mistake.
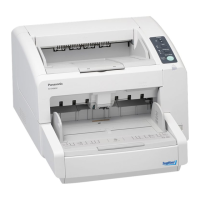
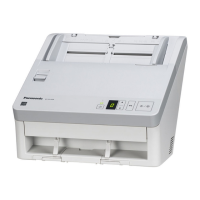
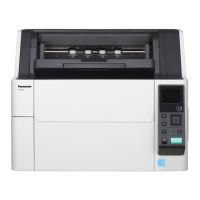
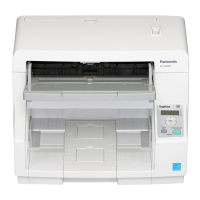
• For KV-S7065C, KV-S4085CW, KV-S4085CL, KV-S4065CW, KV-S4065CL, and KV-S3065CW, place
the shading paper in the landscape position.
• For KV-S3065CL, place the shading paper in the portrait position.
4. The reading of the shading paper begins, and the shading adjustment data with the white reference is now
created.
• Wait until the [Now Adjusting. Please Wait...] message box is cleared from the screen.
5. Reverse or switch the reference plates inside the scanner to black for both the front and the back, and
select [OK] on the message box.
(For KV-S7065C, KV-S4085CW, KV-S4085CL, KV-S4065CW, KV-S4065CL, KV-S3065CW, and
KV-S3065CL only)
6. The shading adjustment data with the black reference is now created.
(For KV-S7065C, KV-S4085CW, KV-S4085CL, KV-S4065CW, KV-S4065CL, KV-S3065CW, and
KV-S3065CL only)
With the black reference shading, the shading paper is not used.
User Utility Reference Manual 21
4.6.1 [Start Shading] button
 Loading...