1. Introduction and Installation
10
For assistance, please visit http://www.panasonic.com/help
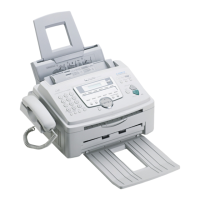
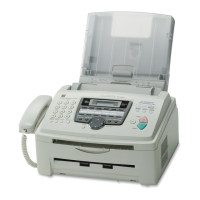
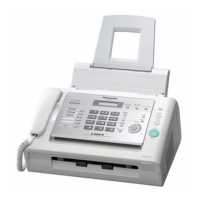
1.4.2 Rear view
* The pictured model is KX-FLM671.
Removing the shipping tape
Remove the shipping tape (1) before installation.
Note:
L Shipping tape positions are subject to change
without notice.
Installation
1.5 Toner cartridge and drum unit
The supplied toner cartridge is a starter toner cartridge.
Caution:
L Read the following instructions before you begin
installation. After you have read them, open the
drum unit protective bag. The drum unit contains
a photosensitive drum. Exposing it to light may
damage the drum. Once you have opened the
protective bag:
– Do not expose the drum unit to light for more
than 5 minutes.
– Do not touch or scratch the green drum
surface.
– Do not place the drum unit near dust or dirt,
or in a high humidity area.
– Do not expose the drum unit to direct
sunlight.
L We cannot be responsible for any damage to the
unit or degradation of print quality which may
occur from the use of a non-Panasonic toner
cartridge and drum unit.
L Do not leave the toner cartridge out of the
protective bag for a long time. It will decrease the
toner life.
L Do not add toner to the toner cartridge.
1 Before opening the protective bag of the new toner
cartridge, shake it vertically more than 5 times.
2 Remove the toner cartridge and drum unit from the
protective bags. Peel off the seal (1) from the toner
cartridge.
L Do not touch or scratch the green drum surface.
A Power inlet
B USB interface connector
C LAN interface connector (KX-FLM671 only)
D External telephone jack
E Telephone line jack
F Speaker
A B FDE
C
1
1
 Loading...