Items Check
Point
Procedure Check or
Replace Parts
(P) Power RAMP
Confirmation
- Follow steps 1 to 6 of (I).
7.Confirm that Power RAMP is matching.
IC2, IC8, R124,
R125, C153,
C140, C141,
DA1, C142,
C143, C144, L3,
L4, R118, R119,
C135, R115,
R116, Q6,
C145, C147,
C149, C151,
C157, R123,
C158, C159,
C160, C161,
C162, C163,
C164, C136,
R117, R127,
C156, C154,
C155
(Q)* Audio Check - 1. Link with Handset.
2. Input -45dBm/1kHz to MIC of Handset.
Measure the Level at Line I/F and distortion level.
3. Confirm that the level is -7.5dBm ± 2dBm and that the distortion level is < 5%
at TEL Line (600Ω Load).
4. Input -20dBm/1kHz to Line I/F.
Measure the level at Receiver of Handset and distortion level
(*Receive volume set to second position from minimum).
5. Confirm that the level is -20.5dBm ± 2dBm and that the distortion level is <
5% at Receiver (Volume Middle, 150Ω Load).
IC8, CN1,SA1,
L6, L7, D3, Q4,
Q5, R23, R25,
R26, R28
(R) Charging Check - 1. Connect Charge Contact 12Ω/2W resistor between charge+ and charge-.
2. Measure and confirm voltage across the resistor is 2.85V ± 0.2V.
R3, R4, R5, D6,
C107, C180,
C181
(S) TAM Operation
Confirmation
- 1. TAM Confirmation (Execute the command “sendchar_VPI”)
2. Confirm the returned Value (Value is “D597SB”).
IC5, R132,
C195, C196,
C197, R130,
C169, C208,
R133, R134,
C209, C210
56
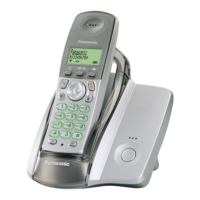
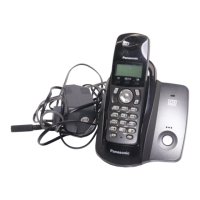
KX-TCD220SLT / KX-TCA122EXT / KX-TCA121EXT
 Loading...