14
KX-TG8105RU/KX-TG8106RU/KX-TGA810RU
6 Installation Instructions
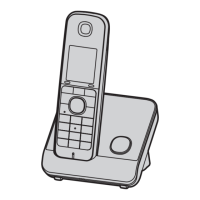
6.1. Connections
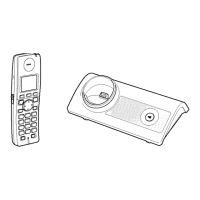
Base unit
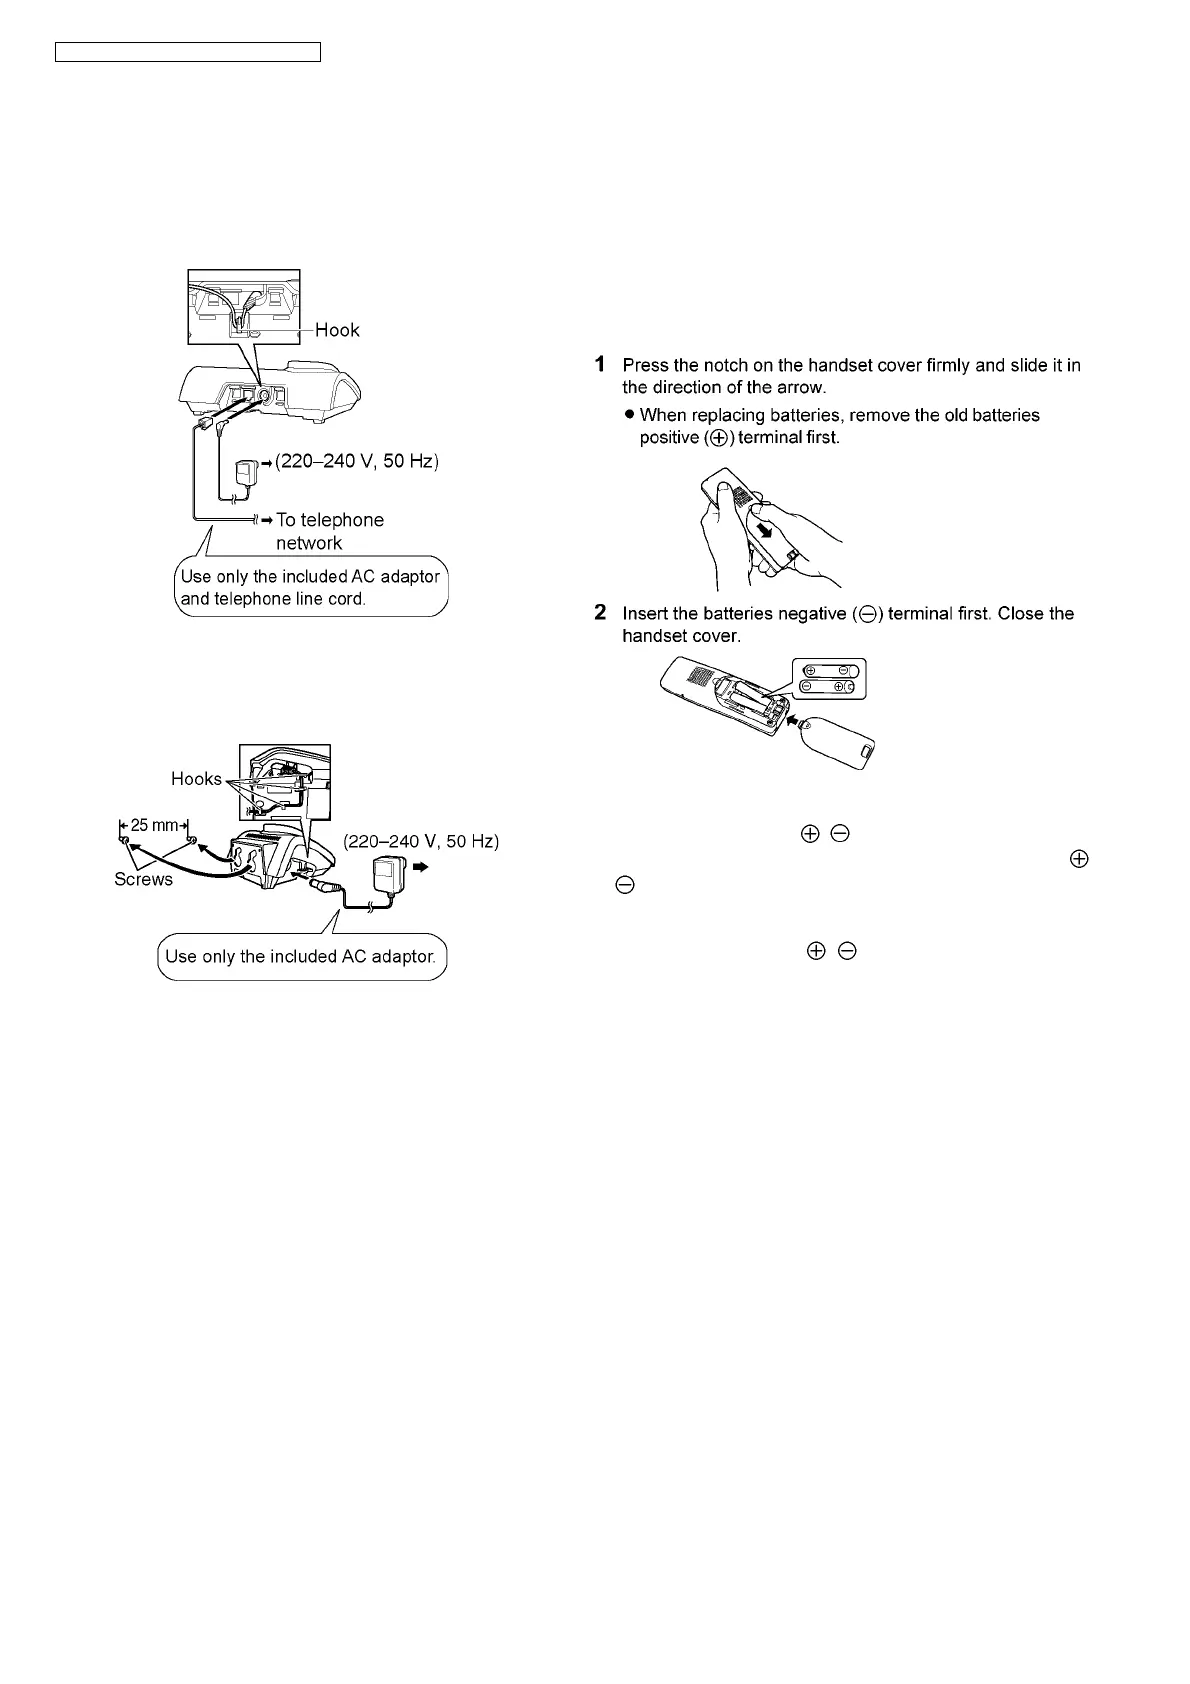
When connecting the AC adaptor to the base unit, a short
beep will be heard. If it is not heard, check the connections.
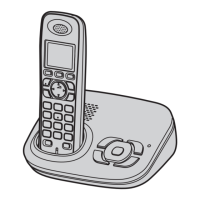
Charger
Connect the AC adaptor to the charger and route the cable
as shown. The charger can be mounted on the wall, if
required.
Note:
• Never install telephone wiring during a lightning storm.
• The AC adaptor must remain connected at all times. (It is
normal for the adaptor to feel warm during use.)
• The AC adaptor should be connected to a vertically oriented
or floor-mounted AC outlet. Do not connect the AC adaptor
to a ceiling-mounted AC outlet, as the weight of the adaptor
may cause it to become disconnected.
Location
• For maximum distance and noise-free operation, place your
base unit:
- away from electrical appliances such as TVs, radios, per-
sonal computers or other phones.
- in a convenient, high and central location.
6.2. Battery
6.2.1. Installation/Replacement
Important:
• Use only the included rechargeable batteries HHR-55AAAB
or HHR-4EPT.
• When replacing batteries, we recommend using the
Panasonic rechargeable batteries P03P.
Notice:
When inserting the batteries:
• Wipe the battery ends ( , ) with a dry cloth.
• Install the batteries without touching the battery ends ( ,
) or the unit contacts.
I fully charged the batteries, but the operating time seems
to be short:
• Wipe the battery ends ( , ) and the unit contacts with a
dry cloth.
 Loading...