– 2 –
For further information, visit http://www.panasonic.com/help or refer to operating instructions.
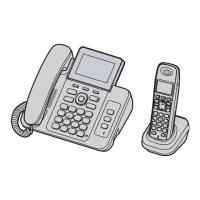
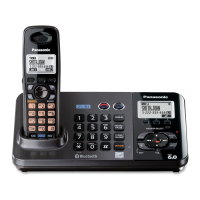
Setting up
CHARGE FOR
ABOUT 7 HOURS
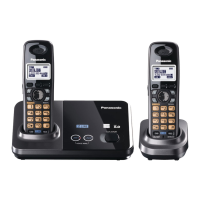
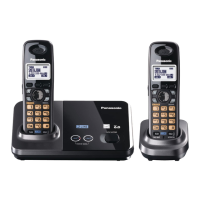
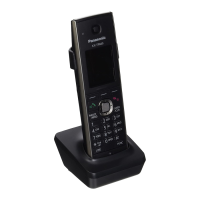
Handset
Charger
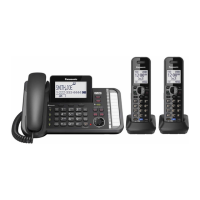
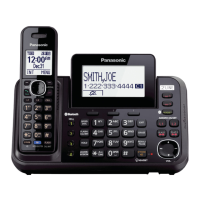
Answering system (Base unit)
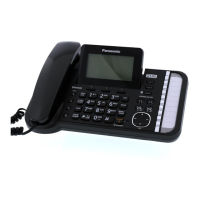
Using the unit as a s
ingle-line telephone
only
(120 V AC,
60 Hz)
L Use only the supplied
Panasonic AC adaptor
PQLV219.
Rechargeable Ni-MH ONLY
L USE ONLY Ni-MH batteries AAA (R03) size.
L Do NOT use Alkaline/Manganese/Ni-Cd batteries.
L Confirm correct polarities (S, T).
Confirm “Charging”
is displayed.
Selecting the desired line(s) and turning the answering system on
1
Press {ANSWER SELECT} repeatedly to select the line(s) to
receive calls using the answering system.
LThe base unit displays the selected line(s) ( , , or 8).
2 Press {ANSWER ON}.
LThe ANSWER ON indicator lights up.
Recording your own greeting message (optional)
Note: If you use a pre-recorded greeting message, you do not need to record your own greeting
message.
Connect the telephone line cord to LINE 1/2.
Handset/Base unit:
Program this setting using either one of the handsets or
the base unit.
LTo use line 1 only: {MENU} i {#}{2}{5}{0} i
{V}/{^}: “Line 1” i {SAVE} i {OFF}/{■}
LTo erase the message “Check tel line 2”:
{MENU} i {#}{1}{9}{0}
1 {MENU} i {#}{3}{0}{2} i {V}/{^}: Select the desired line(s). i {SELECT}
2 After the base unit beeps, speak clearly about 20 cm (8 inches) away from the MIC.
3 Press {STOP} (soft key) to stop recording. i {■}
{ANSWER SELECT}
ANSWER ON
indicator
{ANSWER ON}
 Loading...