.For
playback
of a
tape that was recorded via a
camera, select
the
audio
track on which
the
sound
from the camera
microphone was recorded by
pressing
the corresponding
Audio Output Selector
Button.
.lt
you
leave the VTR in the
pause
mode for more
than 5 minutes, the VTR will stop automatically
to
protect
the tape and the video
heads.
.Even
if the
video
camera
is equipped with video
recorder
remote
control
functions, this
VTR
can
not
be remote-controlled
from the
camera.
Preparation
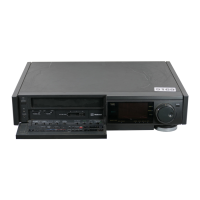
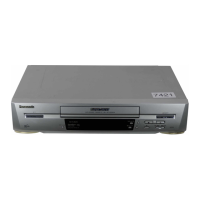
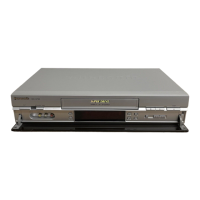
.Connect
the Video
Camera
via the Camera
AC AdaDtor to
the VTR as shown in the
illustration above.
.Set
the lnput Signal Selector
to "Line/Audio".
.lnsert
a video cassette
with the erasure
Drevention
tab
intacl.
When
a
video
cassette
is already
inside the VTR,
press
the VTR OniOff Switch
to turn it
on.
.Adjust
the
audio
recording level as described on
page
24.
.Set
the Taoe
Speed
Selector
to
"SP"
or "1P".
O
Turn tne Camera AC Adaptor on and make the
necessary
adjustments on lhe camera.
Reler to
the operating instructions of the
camera
you
are usrng.
@
Press the Record
Button
(a)
on the VTR to start
recordrng,
Avoid recording unwanted material:
Press the Pause/Still
Button
(ll)
of the VTR,
and the
recording will stop temporarily. To restart
recording,
press
the Pause/Still Button
(l
l), again.
@
eress the
Stop
Button
(l)
on the VTR to stop the
recordrng.
Connect to Left
or Bight Channel
AUDIO
IN VIDEO IN
 Loading...