5.2.13. Junction C.B.A., Capstan Stator
Unit, Sub Rotor, and PCB Holder
5.2.13.1. Disassembly Procedure
1. Remove 2 Screws (C).
2. Unsolder P2532 on the Junction C.B.A. Then, remove the
Junction C.B.A.
3. Remove Screw (D) and 2 Screws with Washers (D), (E).
Then, remove Capstan Stator Unit, Sub Rotor, and PCB
Holder.
CAUTION:
When removing Capstan Stator Unit, avoid touching
IC2501 on the Capstan Stator Unit because it is HOT
during operation.
Fig. J12-1
5.2.13.2. Reassembly Notes
1. Application of Silicon Grease
Fig. J12-2
2. Capstan Stator Kit
a. Capstan Stator Unit, Capstan Rotor Unit, Capstan
Holder Unit, and Stopper are supplied as a Capstan
Stator Kit only (Kit No. VEMS0316K2).
However, IC2501(AN3845SC) is available separately as
a replacement part.
Capstan Rotor Unit, Capstan Holder Unit, and Stopper
are not reusable. Install all new parts.
Because even invisible scratches on the Capstan Rotor
Unit shaft and the Capstan Holder Unit, made when
cutting the Stopper, could cause tape path instability.
3. Adjustment of FG Head
a. After installing, perform the "FG HEAD GAP
ADJUSTMENT" procedures.
31
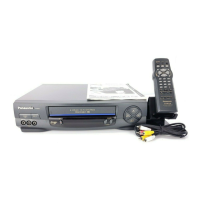
PV-9661 / PV-9662
 Loading...