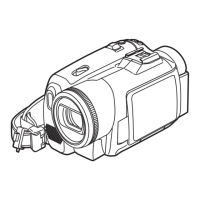
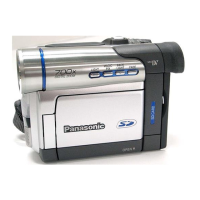
Setting
the
Clock
Setting
the
clock
is divided into four
sections:
Time Zone, Daylight Saving
Time, Date
and Tinfie, and
Clock
Battery. Follow
instructions in the
order
presented.
Before you
begin...
Setting the
Time
Zone
The
Palmcorder
is
set to Eastern
time
zone
from
the
factory.
If you
live or
are
travelling
in
a different time
zone, follow the steps
to
select the
appropriate
time zone
from the
menu
screen.
DISPLAY
Time Zone chart
•
Connect
the Palmcorder
to a
power
source.
•
Set
the POWER switch to VCR or
CAMERA.
r
Note:
The Palmcorder
will
exit the CLOCK
SET
menu if, after
activation, none of
the
CLOCK
SET
UP/DOWN.
(A/T)
or
DISPLAY
buttons
are not
pressed
within
30
seconds.
The Palmcorder's dock may
lose or
gain
up
to two
minutes per
month.
Please
adjust
as
necess£tfy (refer to page
13).
Press
CLOCK SET UP to display
the
CLOCK SET menu.
'Press
U
P A or DOWN
T
repeatedly
to
select!
1. SELECT TirWE
ZONE
—CLOCK SET
—
3.0ATEmME
semNQ
4.EN0
SaECT:
PUSH T/A
KEY
^
3ET : PUSH
DISPLAY KEY
,
Press
DISPLAY
to
display the
SELECT TIME ZONE
menu.
4
"-EB-ECTTIJUE
ZONE
—
ATuwric
PAanc
tJ^i4:i:i
ALASKA
Ce^TTlAL HAWAII
MOUNTAIN SAMOA
aeiECT: PUSH
-WIAYEf
SET : PUSH DISPIAY KEY.
<
! .
J
Press UP or DOWN
T
repeatedly
to select
desired time zone.
'
Press DISPLAY to fix the Time Zone.
The CLOCK SET menu appears.
To exit from the CLOCK SET
menu,
press DOWN to select
I,
and
then press DISPLAY.
4.END
n
Note:
When you
travel outside the eight
time
zones
shown in the
time
zone
chart
at the left,
please set
the clock manually
(see page
13).
11

 Loading...


