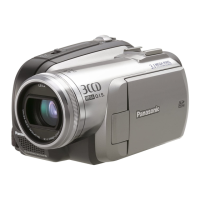
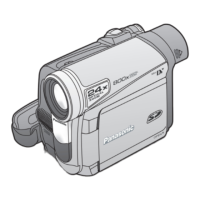
Editing Mode
Recorder:
3 While pressing the [OREC] Button _D,
press the [Ib] Button _ on the Remote
Controller.
Or while pressing the [REC] But:ton _),
press the [BACK LIGHTj But:ton _) on the
Camcorder.
• Recording starts.
TO Stop Dubbing
Press the [I Ij Button (_D or the [I] Button @.
oFor other notes concerning this item, see -7_-,
CAUTION:
Unauthorized exchanging and!or copying of
copyrighted recordings may be copyright
infrfngement.
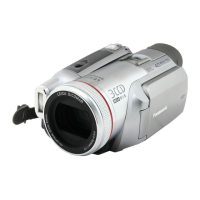
PC Connection With DV Interface
Cable
A video clip c;.tn be transferred directly to your PC
(Personal Computer) vi;_ta DV Interface Cable
(apUanal) using products and software from a
number of video odrUng software companies.
Using products from video editing softw;.tre
companies allows you to c;.tptsre and edit video
clips using the DV Interface.
Our BVC being OHCI compliant should have
no problem working with any OHCI compliant
Firewire Card/Video -- Editing software
package.
• Personal Computer must be equipped with an
DV Terminal.
eDuring Camcorder playback, do not disconnect
the DV Interface Cable or turn the Camcoidor
off as this may cause a PC hang-up error.
e1394 (i. LINK) Interface must conform to OHCI
(Open Host Controller Interface Specification).
eDV STUDIO 3.1E-SE allows you to capture a
still image from your motion video an the tape
and transfer it to a PC with USB Cable.
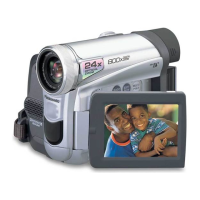
Printing pictures by directly
connecting to the printer
(PictBridge)
After connecting the Camaorder with a printer
compatible with PietBridge, start the following
procedures.
• To print pictsres by directly connecting the
Camcorder to theprinter, prepare a prfnter
compatible with PietBridge. (Also read the
operating instructions of the printer.)
• You cannot print images which cannot be played
on the Camcorder.
• Chock the settings for the paper size, quali_ of
print, etc. on the printer.
• We recommend using the AC Adaptor as the
power source.
1 Set the Mode Dial _ to Picture Playback
Mode.
+
2 Connect the printer with the supplied USB
Cable.
O USB Cable
o
• The [PRINTj Indication appears an the screen
of the Camcorder.
Highlighted: Print;.tblo
Blinking: Printer is being recognized.
-54-
 Loading...