ENGLISH - 43
When using the control panel
The input for projection can be selected by displaying the input screen with the control panel.
1) Press the <INPUT/ENTER> button.
f The Input screen is displayed.
For PT-LW375, PT-LW335, PT-LB425,
PT-LB385 and PT-LB355
For PT-LB305
2) Press as to select one item and then press the <ENTER> button.
f The selected input signal will be projected.
How to adjust the state of the image
If the projected image or the position is not correct when the positioning of the projector and the screen is correctly installed,
adjust the focus, projection angle and zoom.
1) Adjust the projection angle.
f Place the projector on a level surface so that the projected image does not tilt to the left or right.
f If the projected image is located below the screen, extend the adjustable foot to adjust the position of projected image.
For details, see “Adjusting adjustable foot” (x page 44)
.
f Adjust from the [Expand] menu → [Keystone] (x page 66) when the projected image is distorted.
2) Adjust the zoom and the focus.
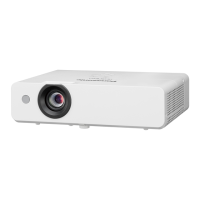
f Rotate the zoom ring to adjust the projected image size to t the screen.
f Rotate the focus ring to adjust the focus of the projected image.
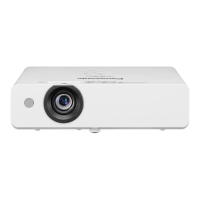
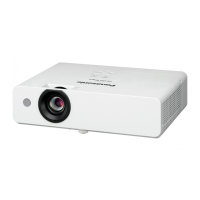
Zoom ring
Focus ring
Note
f It is recommended that the images are projected continuously for at least 30 minutes before the focus is adjusted.
f When the focus is adjusted, the projection screen size also changes slightly. Depending on the image projection situation,
repeat Steps 1) and 2) to adjust to the best projection condition.
Chapter 3 Basic Operations - Projecting
 Loading...
