7
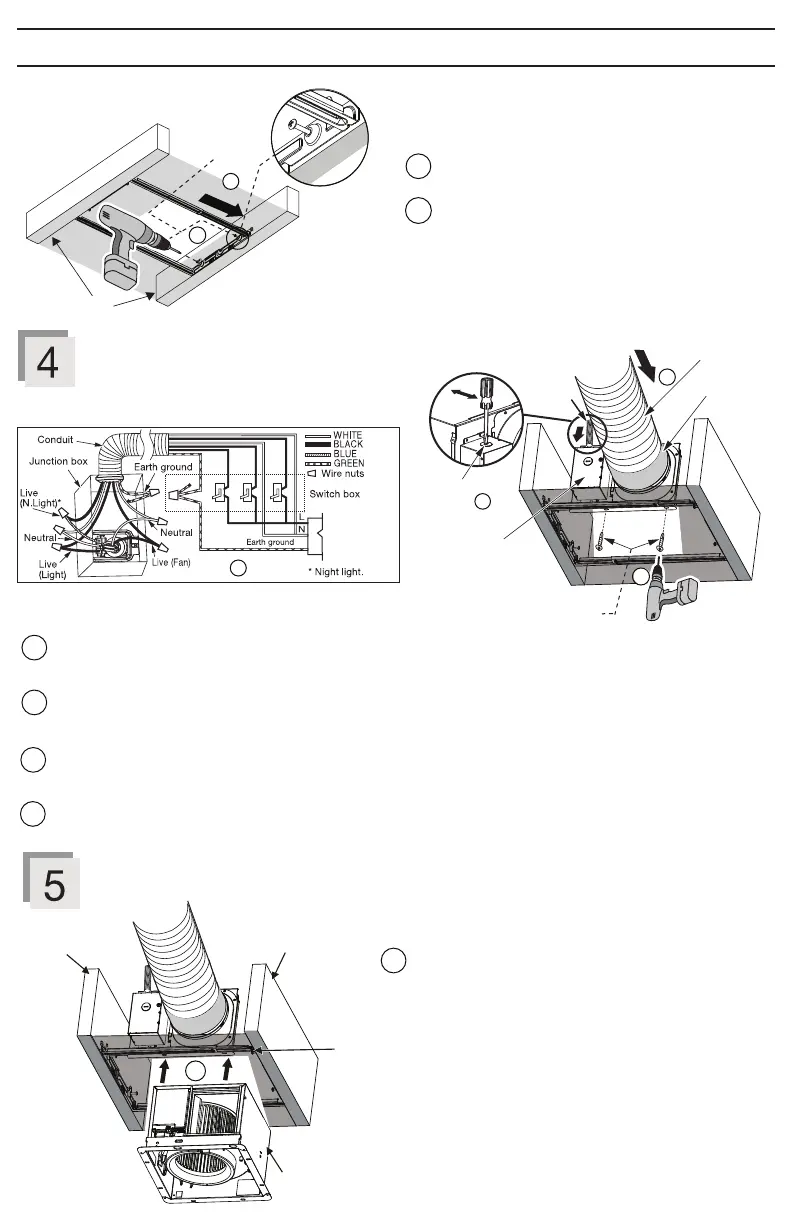
Install circular exhaust duct
1
2
3
Remove screw from junction box cover to remove the knock-out hole and secure conduit or stress relief to junction
box knock-out hole.
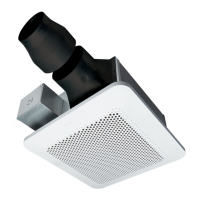
Install the circular exhaust duct and secure it with clamps or ties and seal it with mastic or approved foil tape. A 6
inch circular duct is needed to connect to the relevant part of the adaptor.
Install the adaptor to Flex-Z Fast™ bracket by using 2 self-drilling screws.
Refer to WIRING DIAGRAM (Page 5). Follow all the local electrical safety codes as well as the National Electrical
Code (NEC). Use UL approved wire nuts to connect fan wires. After connecting wires, replace junction box cover.
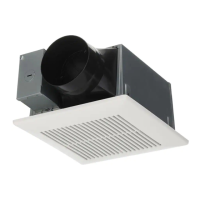
Insert and secure fan body
Insert fan body and slide into adaptor assembly until the
flange overlaps the Flex-Z Fast™ bracket.
1
INSTALLATION (RETROFIT) (CONTINUED)
4
3
AC120V 60Hz
LIVE IN
3
Joist
4
2 Tapping
screws
(ST4.2X20)
Extend
3
4
Extend bracket to the other joist.
Install bracket to joist by using 2-preinstalled tapping
screws.
Junction box
cover
Knock-out
hole
1
2
Circular
exhaust
duct
Mastic or
approved
foil tape
Conduit
4
1
Fan body
Joist
Joist
Flex-Z Fast™ bracket
2 self-drilling screws




 To Next Page