1
1-11-1-1-24
<Procedure of CZ-RTC5B>
Stop the system before performing these steps.
1
Keep pressing the
, and buttons
simultaneously for 4 or more seconds.
The “Maintenance func” screen appears on the LCD
display.
2
Press the
or button to see each menu.
If you wish to see the next screen instantly, press the
or button.
Select “8. Detailed settings” on the LCD display and
press the
button.
The “Detailed settings” screen appears on the LCD display.
3
Select the “Unit no.” by pressing the
or
button for changes.
4
Select the “Code no.” by pressing the
or
button.
Change the “Code no.” to “
” by pressing the or
button (or keeping it pressed).
=91
=90
=92
=93
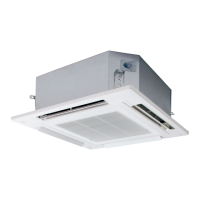
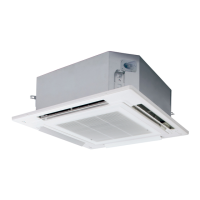
Electrical component box
5
Select the “Set data” by pressing the or
button.
Select one of the Setting Data “YYYY” by pressing the
or button.
Then press the
button.
Flap position
1
2
3
4
5
* Setting data “ ”
Setting data Flap position during operation
Without separate setting
Swing
Move to position
1
and stay
Move to position
2
and stay
Move to position
3
and stay
Move to position
4
and stay
Move to position
5
and stay
NOTE
The flap swings during the operation under “Setting
the Flap Separately”.
At this time, the unselected flaps are moved to the
position
1
.
6
Press the
button.
The “Exit detailed settings and restart?” (Detailed setting-
end) screen appears on the LCD display.
Select “YES” and press the
button.
Maintenance func
Sel.
20:30 (THU)
Page [ ] Confirm
1. Outdoor unit error data
2. Service contact
3. RC setting mode
4. Test run
Maintenance func
Sel.
20:30 (THU)
Page [ ] Confirm
5. Sensor info.
6. Servicing check
7. Simple settings
8. Detailed settings
Detailed settings
Unit no. Code no. Set data
1-1
10
0001
20:30 (THU)
Sel. Next
Detailed settings
Unit no.
Code no. Set data
XX YYYY1-1
20:30 (THU)
Sel. Next
Detailed settings
Unit no. Code no. Set data
1-1
Sel.
20:30 (THU)
XX YYYY
[ ] Confirm
SM830283-00_欧州向け R32シングル36-71形TD&SM.indb 24 20/01/30 10:25:16
 Loading...
