21
ENGLISH
(2) Removing the corner cover
Push the latches on the corner cover in the direction of
the arrow
1
and remove them by sliding in the direction
of the arrow
2
.
2
1 1
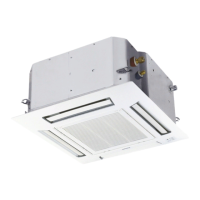
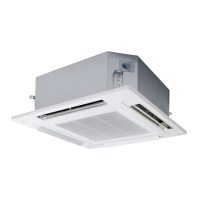
(3) Installing the panel for cassette
The power must be turned ON in order to change the
flap angle. (Do not attempt to move the flap by hand.
Doing so may damage the flap.)
1) Hang the temporary latches on the inside of the panel
for cassette to the receptacle on the unit to temporarily
attach the panel for cassette in place.
●
The panel for cassette must be installed in the correct
direction relative to the unit. Align the REF. PIPE and
DRAIN marks on the panel for cassette corner with
the correct positions on the unit.
●
When removing the panel for cassette, push the
temporary latches outward while holding the panel for
cassette.
Receptacle on the
main unit
Push to disengage.
Temporary latch
Temporary latches (×2)
2)
Align the panel installation holes and the unit screw holes.
3) Tighten the provided washer head screws at the
4 panel installation locations so that the panel is
attached tightly to the unit.
Corner cover
Corner cover
Push latches upward
to disengage.
Panel for cassette
Strap
4) Check that the panel is attached tightly to the ceiling.
●
At this time, make sure that there are no gaps
between the unit and the panel for cassette, or
between the panel for cassette and the ceiling surface.
●
If there is a gap between the panel and the ceiling,
leave the panel for cassette attached and make fine
adjustments to the installation height of the unit to
eliminate the gap with the ceiling.
CAUTION
●
If the screws are not sufficiently tightened, trouble
such as that shown in the figure below may occur.
Be sure to tighten the screws securely.
●
If a gap remains between the ceiling surface and the
panel for cassette even after the screws are tightened,
adjust the height of the unit again.
Make fine adjustment by a wrench or
other tools to the installation height
of the unit to eliminate the gap with
the ceiling through the holes of the
corner cover.
Do not allow gaps.
Panel for cassette
Main unit
Ceiling surface
Drain tube corner
Refrigerant tube
corner
Marking with DRAIN
Marking with REF. PIPE
Washer head screws
(preinstalled on the
panel for cassette)
Panel for cassette
Air leakage
Staining
Air leakage
from panel for cassette
Condensation, water leakage
Adjust so that there
are no gaps.
If there is no affect to the horizontal of the unit and
drain tube, adjustment to the installation height of the
unit can be made through the hole of the panel for
cassette corner.
00_301040_all.indb 21 2018/5/25 10:20:29

 Loading...