Step 5: Lay the rear panel and remove the Fan Unit as arrow
shown.
7.2.6. Disassembly and checking of the
AC Inlet P.C.B. and Amplifier
P.C.B.
Follow Step (1) to Step (5) described in section 7.2.4.
Follow Step (1) to Step (3) described in section 7.2.5.
Step 1: Check both the Amplifier P.C.B. and AC Inlet P.C.B..
7.2.7. Disassembly and Checking of the
Power P.C.B. and Transformer
P.C.B.
Follow Step (1) to Step (5) described in section 7.2.4.
Follow Step (1) to Step (3) described in section 7.2.5.
Steps 1 & 2: Remove 4 screws.
Step 3: Flip the Power P.C.B. as shown for checking both the
Power P.C.B. and Transformer P.C.B.
7.2.8. Replacement of Power ICs and
Transistor
Follow Step (1) to Step (5) described in section 7.2.4.
Follow Step (1) to Step (3) described in section 7.2.5.
13
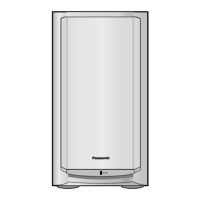
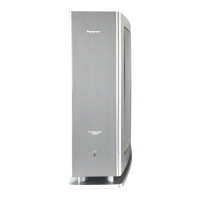
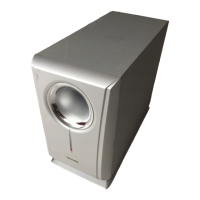
SB-WA17E / SB-WA17EB
 Loading...