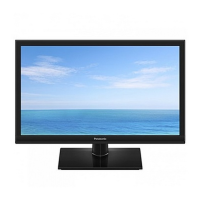
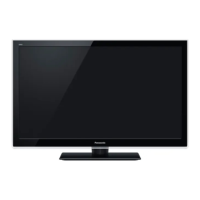
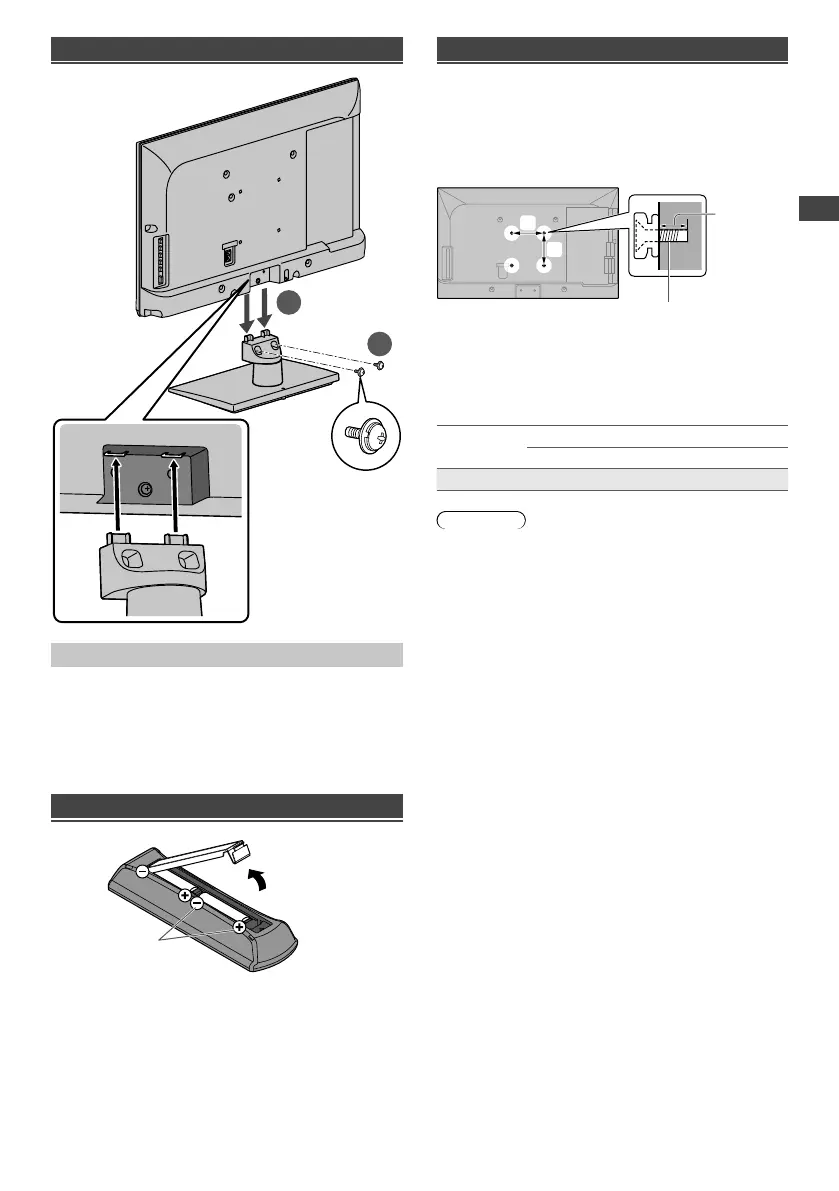
Setting Up the TV
5
are
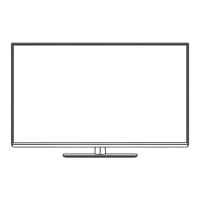
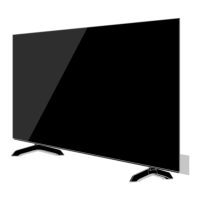
Attaching the pedestal
2
1
Removing the pedestal from the TV
Be sure to remove the pedestal in the following way
when using the wall-hanging bracket or repacking the
TV.
1 Remove the assembly screws.
2 Pull out the pedestal from the TV.
Inserting remote’s batteries
Note the correct
polarity (+ or -)
Press the hook and
lift the cover
Wall mounting the TV (optional)
Choosing to wall mount the TV shall be done at the
owner’s risk and expense. Always use a qualified
installer to perform a TV wall bracket installation.
Incorrect installation may cause TV to fall, resulting in
personal injury and product damage that is not covered
by warranty.
b
Rear of the TV
Screw for fixing the TV onto the
wall-hanging bracket (not supplied)
Depth of
screw
(View from the side)
a
Holes for wall-hanging bracket installation
a: 100 mm
b: 100 mm
■ Screw specification
Type
Depth of screw
Minimum Maximum
M4 8 mm 12 mm
Warning
●
When optional accessories such as wall brackets etc.
are used, always read and follow the manufacturer
installation and usage instructions.
●
Do not mount the unit directly below ceiling lights (such
as spotlights or halogen lights) which typically give
off high heat. Doing so may warp or damage plastic
cabinet parts.
●
When installing wall brackets you must ensure the wall
bracket is not electrically grounded to metal wall studs.
Always ensure that there are no electrical cables,
pipes etc. in the wall before you begin the wall bracket
installation.
●
To prevent fall and injury, remove the TV from its fixed
wall position when it is no longer in use.
TH-24A400AZ_EN.indd 5TH-24A400AZ_EN.indd 5 4/3/2014 4:48:58 PM4/3/2014 4:48:58 PM