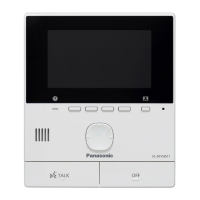
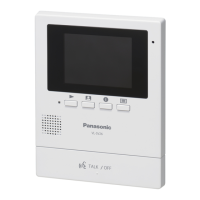
3 Plug the AC adaptor into the power outlet, place the
sub monitor on the charger, and charge the battery.
While charging: The CHARGE indicator (A) lights
up.
When charging is complete: The CHARGE indicator
(A) turns off.
R At the first time of charging or after battery
replacement, it takes about 7 hours to complete
charging.
R If you use the sub monitor while charging, the
charging time becomes longer.
R Locate the charger where
"OUT OF RANGE" is not
displayed on the sub monitor.
(The charging time becomes longer where the sub
monitor is out of range of the main monitor.)
R Even after the sub monitor is fully charged, the sub
monitor can be left on the charger without any ill effect
on the batteries.
Important:
R Use only the included AC adaptor.
R When the sub monitor is off the charger or the AC
adaptor is disconnected for 1 week or more,
remove the battery in order to maintain the
battery performance and prevent the battery from
discharging.
– Recharge the battery before using the sub
monitor again.
3.4 Setting the language, date and
time
When you use the main monitor for the first time, you will
be prompted to set the display language, date, and time
settings.
R The play lamp lights if these settings are not
configured.
1 Press the M N button to turn on the display.
2 Press the soft keys under the and
soft key icons to select the desired language.
3 Press .
4 Press again.
5 Set the date and time.
R Press
to select an item (i.e.,
year, month,
day, etc.).
R Press
or to change the setting.
6 When finished, press .
R A beep sounds and the display turns off.
Changing the language, date and time
You change the language, date, and time settings later
if desired. Press the M
N button, use the ,
, and soft keys to navigate to “Initial
settings”.
Note:
R The date and time settings may be deleted when
there
is a power outage. In this case, reconfigure the
settings.
R The time may become out of sync over time (about
60 seconds per month).
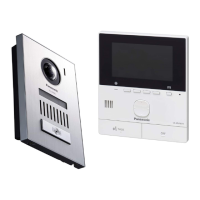
3.5 Wide/zoom settings and zoom
position settings
These functions are not available for the supplied
doorphone
(VL-V522L). You can use these functions
with optional doorphones (page 4).
You can configure how doorphone images are initially
displayed on the main monitor. Images can be displayed
in wide mode or in zoom mode. You can choose different
settings for when visitors call you, and for when you are
monitoring.
Wide mode
(default setting)
Zoom mode
14
3. Preparation

 Loading...