13
IMPORTANT:
Replace the sensor cover before the installation
(only for plug-in Motion sensor module FV-MSVK1).
NOT INCLUDED (Fig. 10).
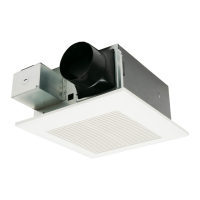
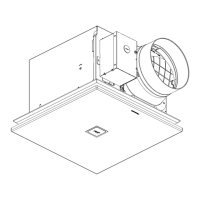
INSTALLATION (CEILING MOUNTING)
8
Sealing
Once fan body is mounted and
secure, fill gap between flange
and ceiling with caulk or other
sealant to prevent air leakage.
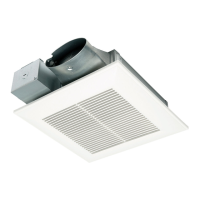
Install grille
Fig.9
Keep on pressing the clasps when removing the ornamental cover.
CAUTION
Finish ceiling work. Ceiling hole
should be aligned with the inside
edge of flange.
Ceiling
10 1/2 (266)
10 1/2 (266)
Mount grille carefully so that lead wire is not
pinched.
Gloves
Position shorter
tabs on these sides
Sensor cover
A
B
Unit: inches (mm)
7
The claw of connector must latch the rib
completely.
Insert the mounting spring into the slot as shown to
mount grille to fan body.
Fix the motion sensor into grille.
Adjust Pick-A-Flow
®
switch and multi-speed selector
(only models FV-0511VKS3S, FV-0511VKS3)
as desired. Refer to indication on “FEATURES” section,
page 7and 8.
Fix motion sensor cables in the indicated hooks.
Insert the other mounting spring into the slot as
shown and mount grille to fan body.
Mounting spring
Gloves
Grille
Mounting spring
Clasps
Ceiling
Ceiling
Pick-A-Flow
®
Motion sensor
(FV-MSVK1
only, not included)
Ornamental cover
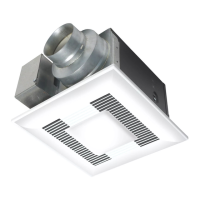
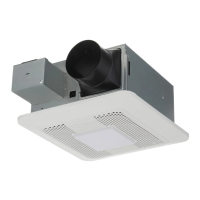
A) INSTALL GRILLE FOR MODELS FV-0511VKS3, FV-0511VK3, FV-1115VK3
ATTENTION: When the switch is at the “ON”
position, wait 8-10 seconds for the fan to start.
This is a normal working condition.
 Loading...