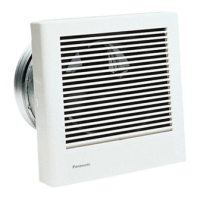
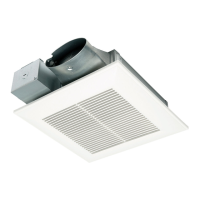
INSTALLATION (WALL MOUNTING)
Disconnect the plug from the receptacle.
Remove the M4X8 machine screw.
1. Disconnect power supply
before installing the unit.
2. Please wear gloves to protect
hands during the installation.
ATTENTION
Remove the tape and accessory from the adapter, before installation.
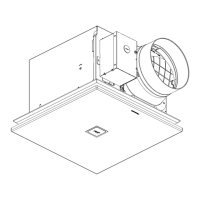
Adapter
Tape
Damper
4” reducer (Not applicable
for FV-1115VK3)
Duct tape
Remove adapter plate
Adapter
Machine screw (M4X8)
Guide Parts
Fan body
Hook
Press the hook and slide the adapter out of the
fan body.
PRESS
14
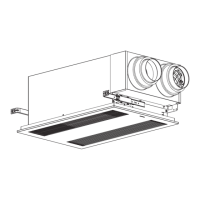
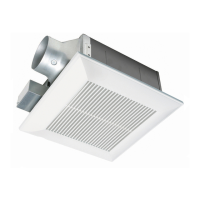
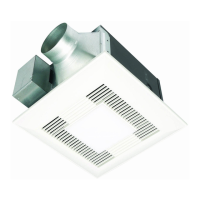
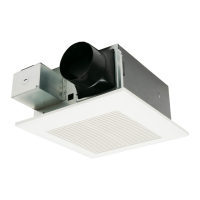
INSTALLATION (CEILING MOUNTING)
Gloves
Fig.10
Keep on pressing the clasps when removing the ornamental cover.
Ornamental cover
Position shorter
tabs on these sides
Sensor cover
B
A
Mounting spring
Grille
Mounting spring
Pick-A-Flow
®
Clasp
Ceiling
Ceiling
Note: Before installing the grill for model FV-0511VKS3S
follow the steps 1 through 8 (P.11 to 13).
b) INSTALL GRILLE FOR MODEL FV-0511VKS3S
Gloves
Insert the mounting spring into the slot as shown to
mount grille to fan body.
Fix the motion sensor into grille.
Adjust Pick-A-Flow
®
switch and multi-speed selector
(only models FV-0511VKS3S, FV-0511VKS3)
as desired. Refer to indication on “FEATURES” section,
page 7 and 8.
Fix motion sensor cables in the indicated hooks.
Insert the other mounting spring into the slot as
shown and mount grille to fan body.
Motion sensor
(FV-MSVK1
only, not included)
IMPORTANT:
Replace the sensor cover before the installation
(only for plug-in Motion sensor module FV-MSVK1).
NOT INCLUDED (Fig. 10).
Plug
Receptacle
 Loading...