INSTALLATION (RETROFIT)
10 7/8” (275)
Template
Drywall
Marker
10 7/8” (275)
Remove the existing fan, leaving the
existing ductwork and wiring in place.
1. Disconnect power supply
before installing the unit.
2. Please wear gloves to protect
hands during the installation.
ATTENTION
Remove the tape and accessory from the adapter, before installation.
Adapter
Tape
Damper
4” reducer (Not applicable
for FV-1115VK3)
Duct tape
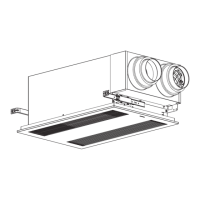
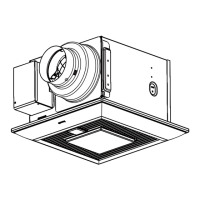
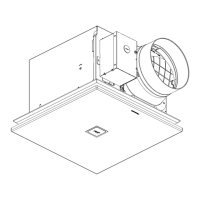
Insert the body and slide it into the adapter assembly until you hear a click from the hook.
Secure the fan body to Flex-Z Fast bracket by using 2 self-drilling screws.
Secure fan body and plug connector to adapter by using machine screw (M4X8). To finish wall work and install
grille, please refer to steps 7 and 8 (p. 13).
Existing duct
Existing conduit
Remove the existing fan and cut opening
Using housing masking template to mark the ceiling
or wall opening, cut the ceiling or wall along the
marked line.
Marked
line
Existing
Wires
Existing
ceiling or wall
Joist or stud
Align
Insert Flex-Z Fast bracket.
Align and install bracket to joist or stud by
using the 2 pre-installed tapping screws.
Extend bracket to the other joist or stud.
Install bracket to joist or stud by using
2 pre-installed tapping screws.
The Flex-Z Fast bracket position can be adjusted from 16" to 24" between joists or studs.
Install Flex-Z Fast bracket
Joist or stud
Joist or stud
EXTEND
2 Tapping screws
(ST4.2 X 20)
Flex-Z Fast bracket
®
Flex-Z Fast bracket
®
®
®
®
16
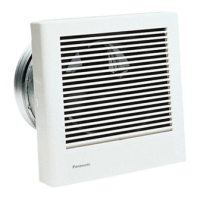
INSTALLATION (WALL MOUNTING)
Unit: inches (mm)
 Loading...