CLIO 3
This sheet is designed to help you with the installation of a Parrot product and is purely for information. Any installation performed in
compliance with the instructions appearing in this document is done under the sole responsibility of the installer, who is entirely responsible
for the quality of the installation. All rights reserved © Copyright 2011 PARROT SA RCS PARIS 394 149 496. May not be reproduced without the
authorisation of Parrot SA. Pictures for information only.
Before refitting the system, switch the ASTEROID on using
the ignition (or by starting the car). By pushing the central
knob of the remote control, check:
1 - That the menu is displayed on the screen.
2 - That sound is coming through the speakers.
3 - That the sound of the voice menu is coming through the
front speakers.
4 - Then turn off the ignition, check that the ASTEROID turns
off and that the message “goodbye” is displayed on the
screen. (Otherwise reverse the fuses on the radio power
supply harness.)
5 - Pair a telephone with the kit and make a call. (Check that
both the microphone and the kit are working.)
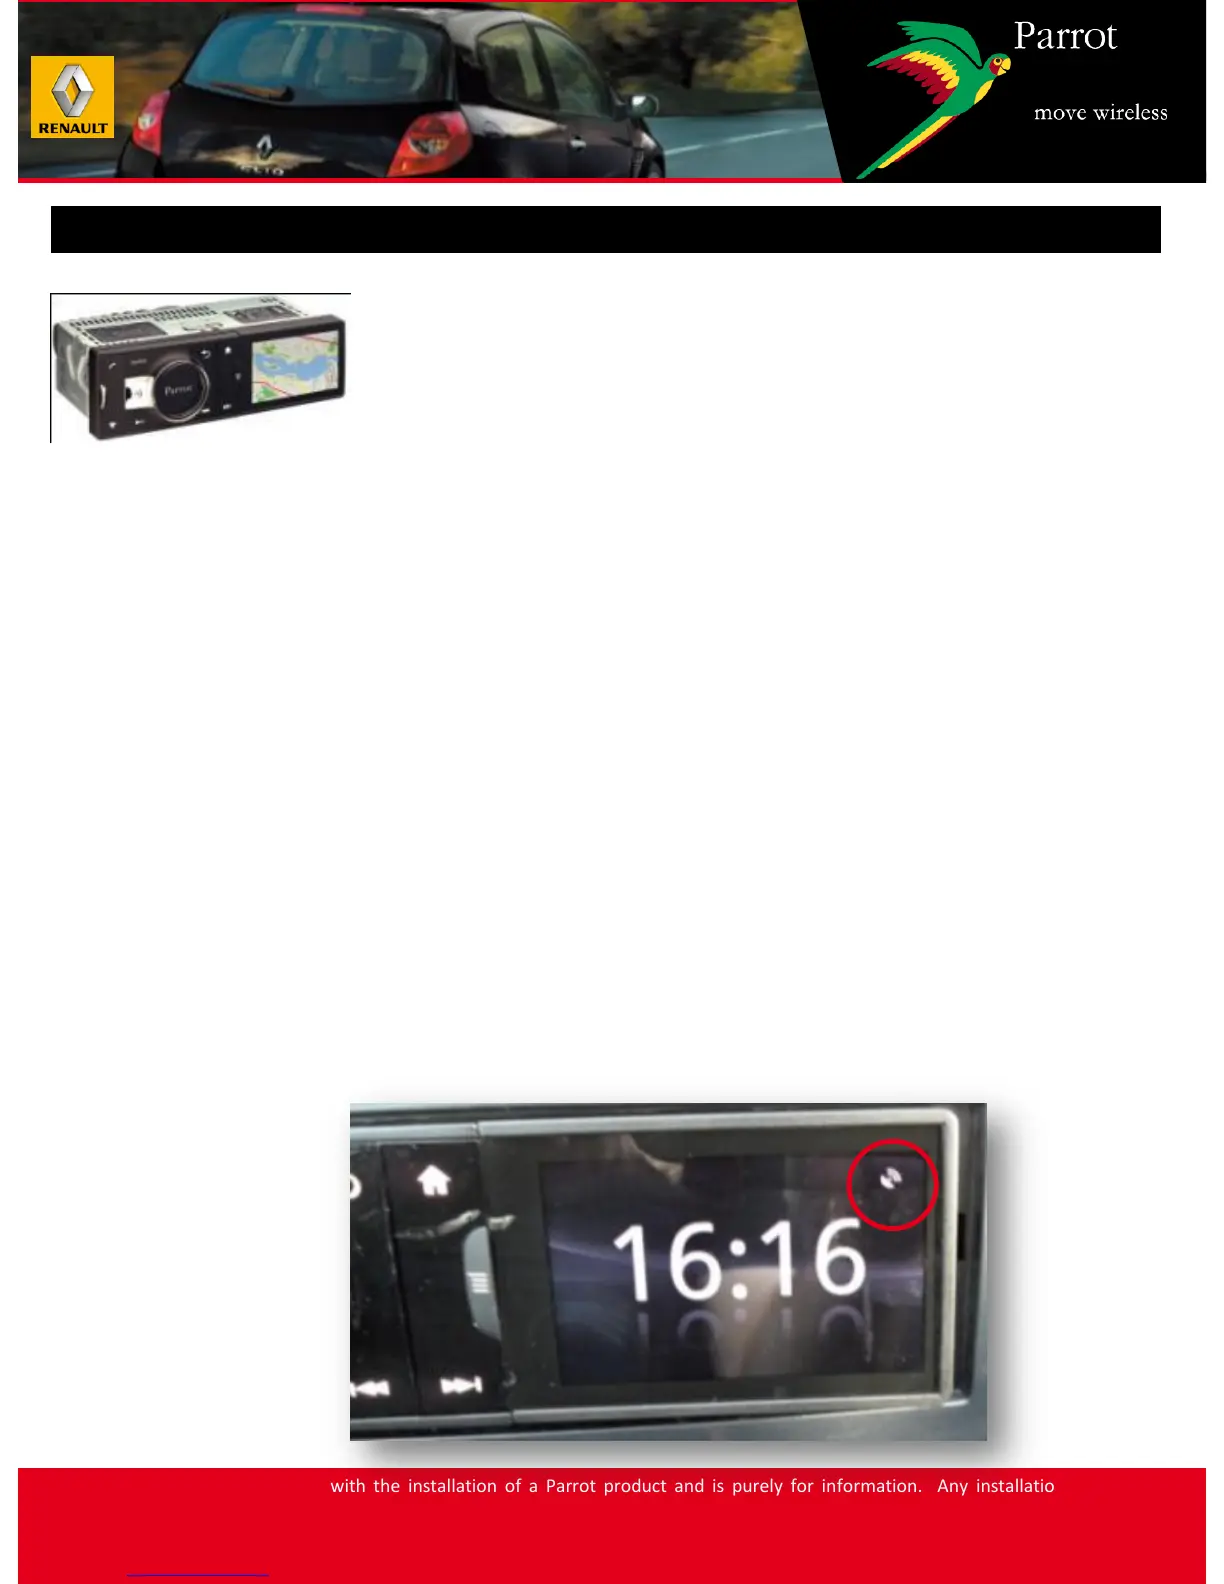
6 - Launch an application with geo-positioning to check that
the GPS antenna is working. (Antenna displayed on the
screen is in the example below.)
 Loading...