frame. This can be achieved by direct contact between the
mounting brackets & screws, but if the mounting surface is non-
metallic, plastic-coated or not connected directly to the frame, then
an earthing wire should be provided. This would be a short wire
with a ring/fork terminal at one end (placed under one of the
mounting screw heads or nuts, or under the head of one of the
module end plate screws) and a ring terminal at the other end
connected to the frame earth. A short yellow/green wire is provided
for this.
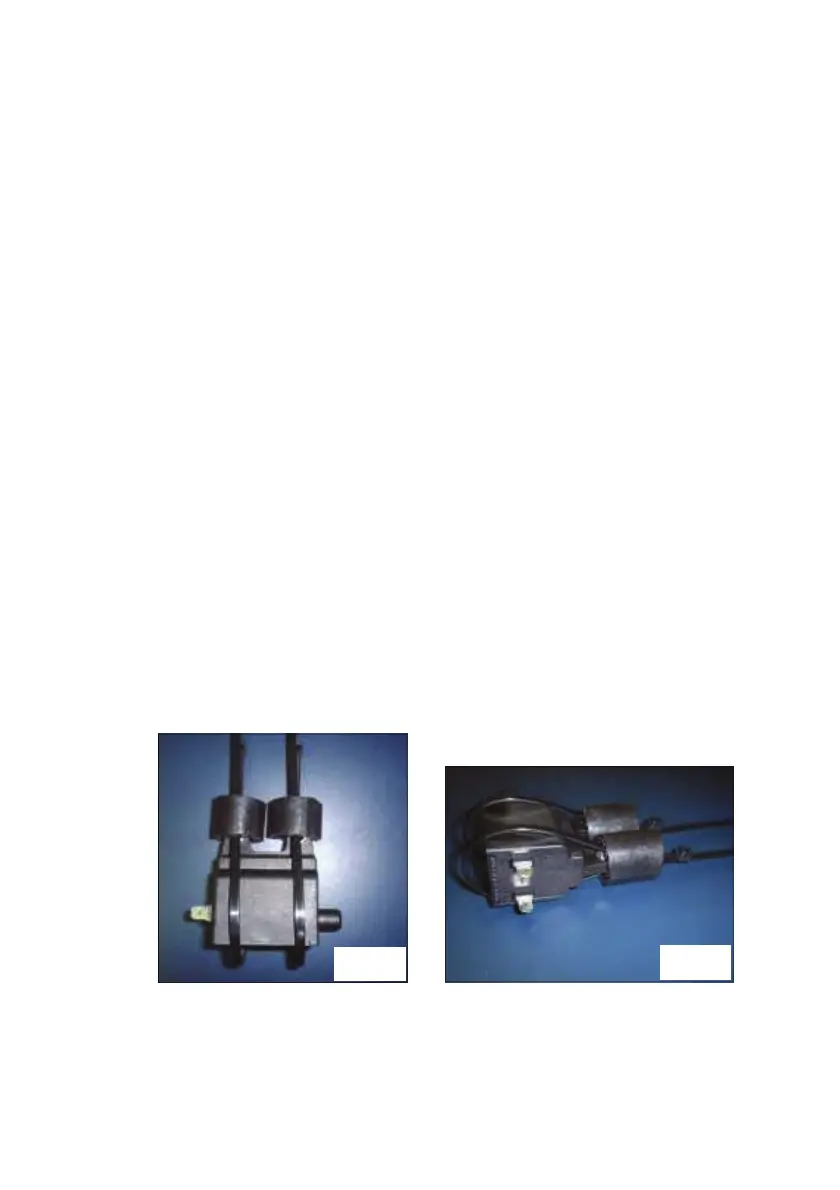
14. Fit the ignition coils in a convenient place, this could be in place of
the original coils, if desired. Secure the coils by the two mounting
lugs, using the M5 bolts, washers & nuts. Alternatively, to avoid the
need for drilling or a mounting bracket, each coil can be rubber
mounted using two small pieces of rubber tubing (such as fuel pipe
or heater hose) & two large tie-straps, see figs. 1 / 1a. The coils
can then be secured to the frame tube by fully tightening the tie-
straps. Fit the new h.t. leads by pushing the brass connectors fully
into the h.t. outlets of the coil, along with the rubber boots. Small
tie-straps can be placed around the rubber boots & tightened to
give extra security, if desired. Coil #1 fires cylinders 1&2, coil #2
fires cylinders 3&4. The h.t. leads should now be cut to length, if
necessary, & the plug caps screwed onto the ends of the h.t. leads.
Push the plug caps onto the plugs, they should click into place.
FIG. 1a
FIG. 1


 To Next Page
 Loading...