First sand the balsa formers flush with the
sides and top of the fuselage and then you
may round these formers off to give a smooth
and flowing shape.
Do not sand beyond
this point for now.
NOTE: At the rear where the balsa formers blend
into the square ply wood section you will want to
shape the balsa such that it blends from a square
edge at the rear into a more round shape just
inches away. Leave the edges at the front of the
balsa formers alone for now. After the hatch is
installed, you can then sand the balsa formers to
blend to the canopy hatch for a better and more
flowing shape.
Where the balsa formers extend across the hatch area, use a sanding block to sand the
balsa flush with the hatch surface.
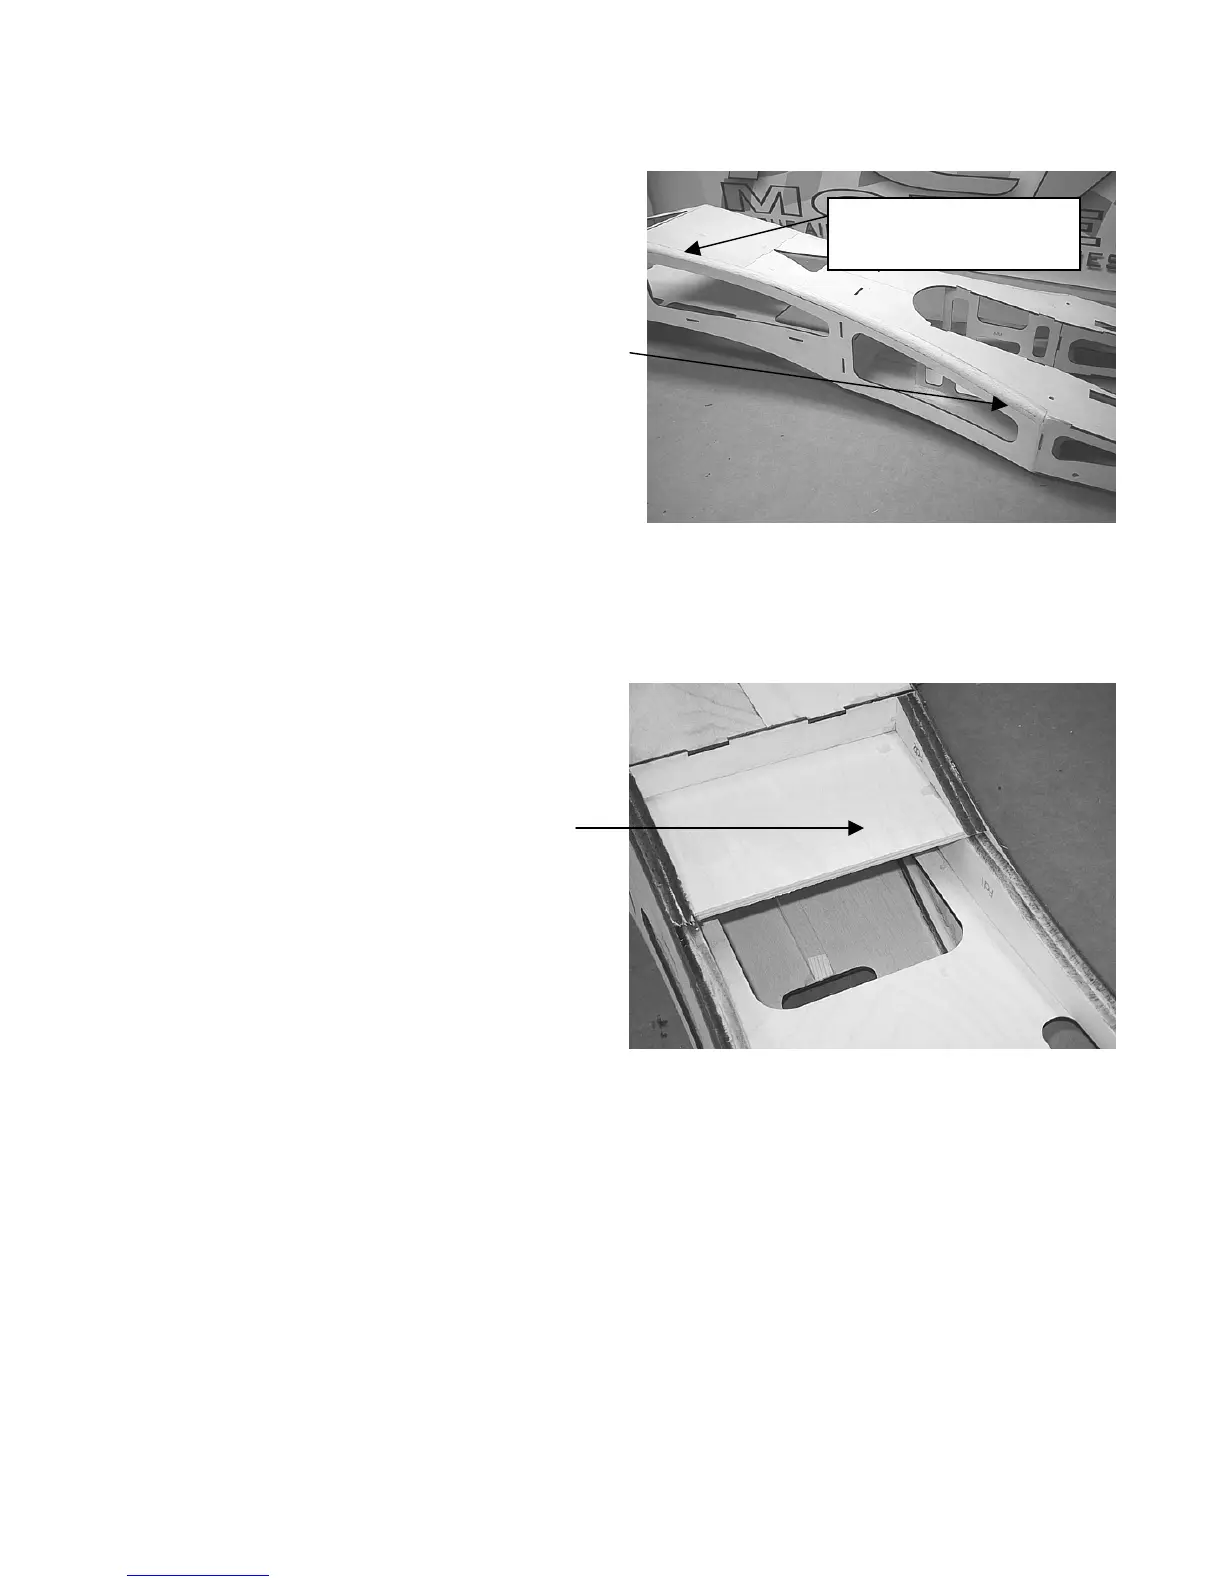
Glue the ¼ balsa formers FD1 into place on
the inside of the fuselage one at a time to
laminate to the flowing shape of the
fuselage.
Install the ¼ Plywood former WHP into
position on top of the balsa formers.
Glue the ¼ balsa formers FD2 on top of the
Wing Hold down Plate (WHP).
At this point the fuselage should be a complete
unit. If all of the joints are securely glued and
fitted, the model will have become very stiff.
Go back over your work and make sure it is so. Reinforce any joints that may need it.
17
 Loading...