66
A2.2 CHANGE FROM F-MOUNT TO C-MOUNT
Instructions on how to change the optical input from F-mount to C-
mount:
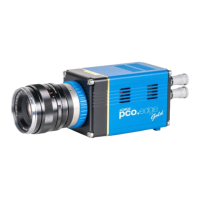
Step 1: Remove F-mount Adapter
Grasp the F-mount adapter at the black ring (counter ring) and turn
it counter clockwise.
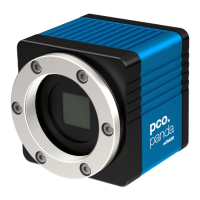
Step 2: Insert C-mount Ring
Carefully screw the ring completely in and tighten the two Hexagon
socket screws.
Adjust Back Focal Length
First of all, attach a lens to your C-mount adapter. Then set the focus
of your lens to infinity. After that, look for an object in infinity* and
generate a sharp image by turning the smaller ring of the adapter.
Then fix this position with the two small indented screws.
*rule of thumb: object should be away about 2000 times the focal length in mm
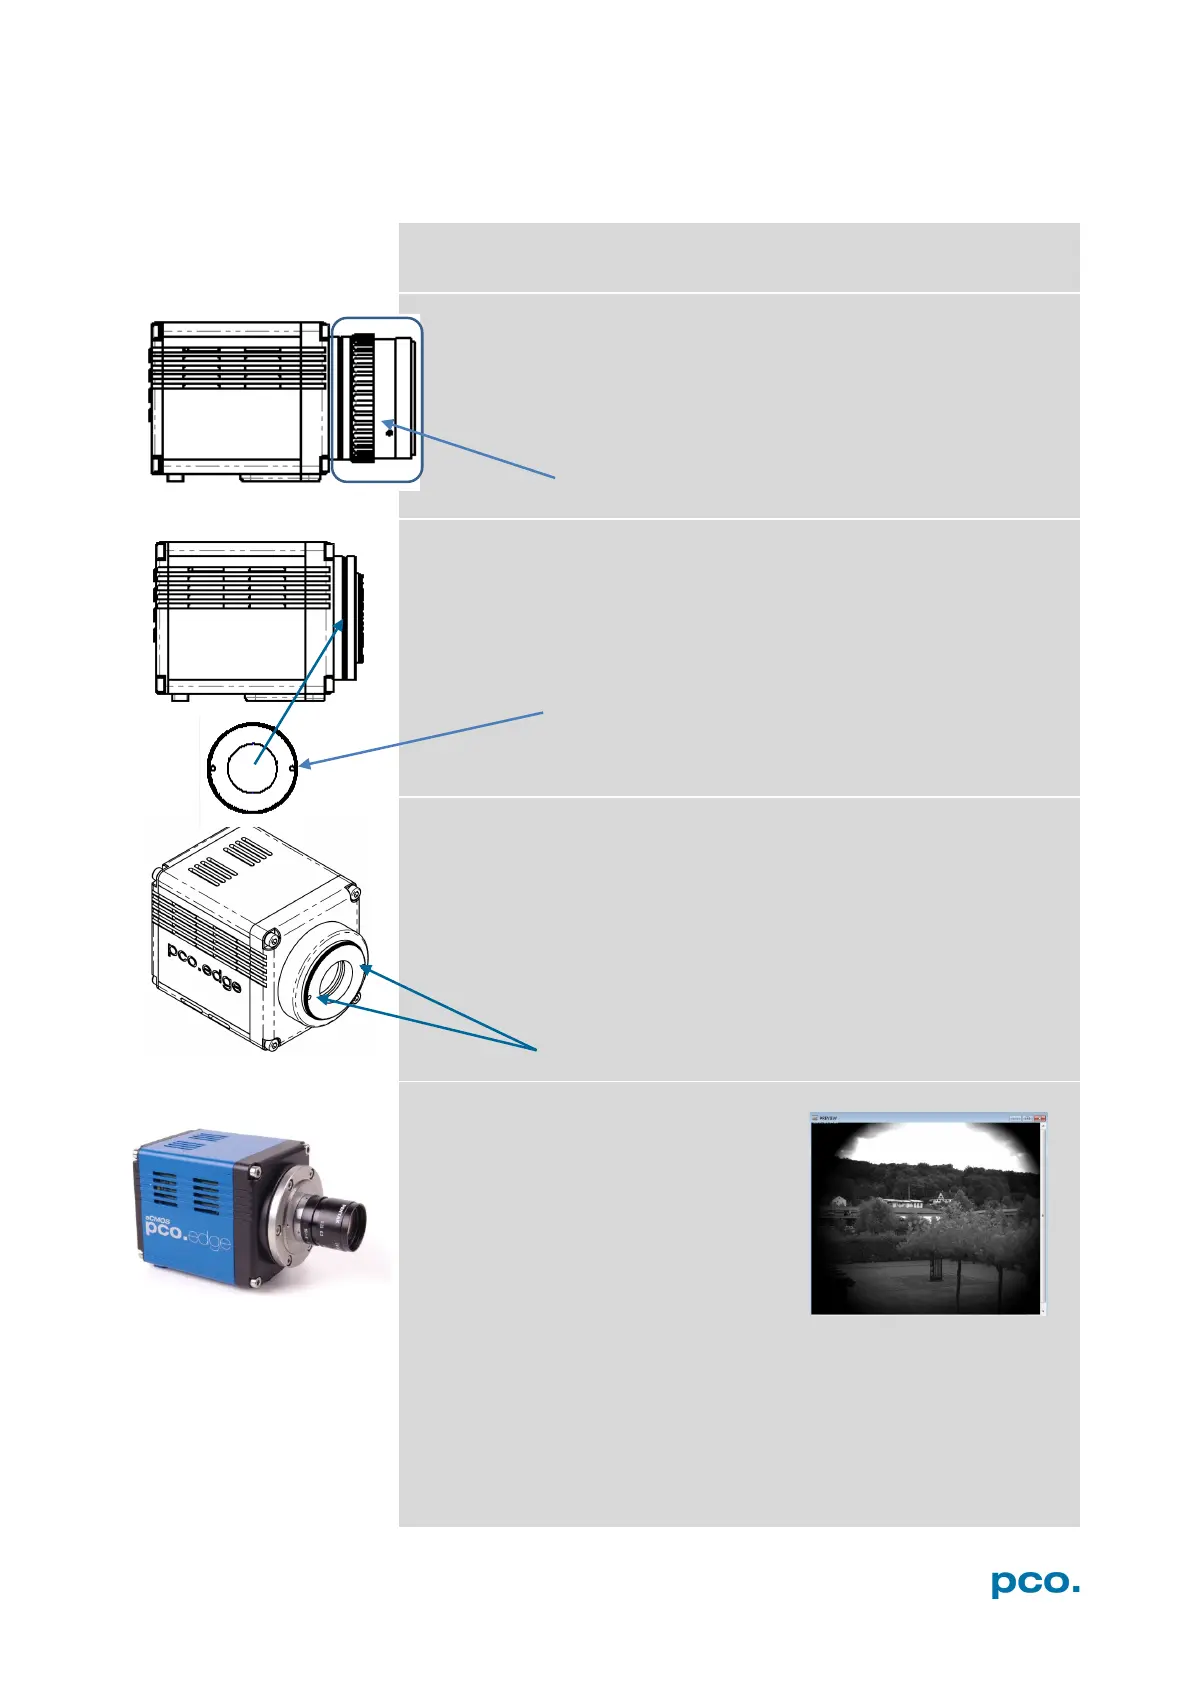
Limitations of C-mount lenses
Keep in mind that c-mount lenses could
cause shadings at the edges of big sized
sensors. Most c-mount lenses are able
to illuminate a maximum image circle of
11 mm (2/3”), 16 mm (1”) or 22 mm
(4/3”) diameter only. The pco.edge
cameras have a sensor diagonal from
18.8 to 21.8 mm, it follows that you have
to use the ROI function for a shade less image while using the c-
mount adapter with the two smaller C-mount diameters.
 Loading...