15
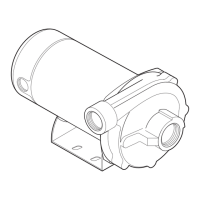
Disassemble the suction lter (Fig. 2 ref. A) by removing the screws provided (Fig. 2 ref. B)
Clean the impeller (Fig. 2 ref. C) and its chamber (Fig. 2 ref. D)
Reassemble the suction lter (Fig. 2 ref. A) by tightening the screws (Fig. 2 ref. B) and making sure
that the O-ring (Fig. 2 ref. E) is correctly positioned in its housing (Fig. 1 ref. E).
Disassemble the suction lter (Fig. 2 ref. A) by removing the screws provided (Fig. 2 ref. B). Remove
the rubber stop (Fig. 2 ref. F) supporting the guide rod (Fig. 2 ref. G)
Remove the oating switch.
Clean the oating switch (Fig. 2 ref. H) and the related chamber (Fig. 2 ref. I).
Insert the oating switch in the guide rod (G) making sure it is inserted in the correct direction (tape
-
red side pointing upwards).
Insert the rubber stop (Fig. 2 ref. F) on the side of the guide rod.
Reassemble the suction lter (Fig. 2 ref. A) by tightening the screws (Fig. 2 ref. B) and making sure
that the O-ring (Fig. 2 ref. E) is correctly positioned in its housing (Fig. 1 ref. E).
Store the pump in a dry place and protect it from frost.
Pentair Pumps S.p.A. declines all responsibility for damages originating from an incorrect cleaning. If
failures occur, please contact an authorised Service Center.
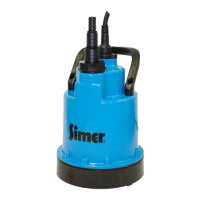
In ordinary conditions, Pentair DPC series electropumps do not require any maintenance. It may be
necessary to clean the hydraulics or replace the impeller.
CLEANING THE HYDRAULIC COMPONENTS
CLEANING THE FLOATING SWITCH.
PUMP STORAGE INSTRUCTIONS
Maintenance and troubleshooting (see g. 2 pag. 91)
CHAPTER 7
Make sure the machine is disconnected from electric power supply, before perfor-
ming maintenance operation.
DANGER - ELECTRIC SHOCK RISK
EN
 Loading...