14
P/N 471105 Rev. H 10-16-07
PRESSURE SWITCH
The pressure switch will keep the circuit open when
the pump is not on and operating. When the filter
pump turns on, the pressure switch closes the circuit
and the heater will operate. When the heater is
installed below water level of a spa or pool,
adjustment of the pressure switch may be required.
For adjustment of pressure switch, we recommend
the following procedures.
1. Backwash the filter and clean the pump hair
and lint basket before making any adjustment
to the pressure switch.
2. Switch the circulation pump on and make sure
it is primed.
3. Push the heater power switch on and set the
thermostats to their highest temperature
settings.
4. Clean the thread locking compound off of the
pressure switch adjustment screw threads.
5. Use an 1/8" Allen wrench to turn the set
screw clockwise until the heater shuts down;
see Figure 9.
6. Turn the set screw counter-clockwise 1/2 turn
and the heater should refire.
7. Turn the pump off
and the heater
should shut down.
If the heater does
not shut down,
repeat the
procedure.
8. Switch the pump
off and on several
times to assure
proper adjustment.
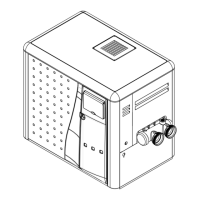
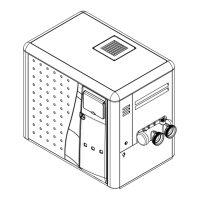
PLUMBING CONNECTIONS
The MiniMax 100 heater has the unique capability of direct
schedule 40 or 80 CPVC/ABS/PVC plumbing connections.
Either a Quick-Flange or Quick-Flange II (depending on
model ordered) has been included with the MiniMax 100 to
insure conformity with Pentair Water Pool and Spa
recommended CPVC/ABS plumbing procedure; see Figure
7. Other plumbing connections can be used. The
instructions on the following pages show the methods for
successfully connecting plumbing to the inlet/outlet header
with either the Quick-Flange or Quick-Flange II.
MANUAL BY-PASS
Where the flow rate exceeds the maximum 80 GPM, a
manual by-pass should be installed and adjusted. After
adjustments are made, the valve handle should be
removed to avoid tampering.
Model Min. Max.*
100 20 80
* Do not exceed the maximum recommended flow
rate for the connecting piping.
VALVES
When any equipment is located below the surface of the
pool or spa, valves should be placed in the circulation
piping system to isolate the equipment from the pool or
spa.
Chemical resistant check valves are recommended to
prevent back siphon; see Figure 8.
Caution: Exercise care when installing chemical
feeders so as to not allow back siphoning of
chemical into the heater, filters or pump.
Installation (contd.)
Figure 9.
Figure 7.
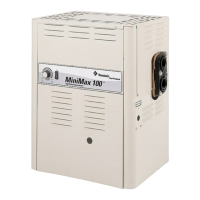
MiniMax 100
High Performance Heater
COLD
POOL TEMP
HOT
OFF
ON
PacFab
GATE VALVE
PUMP
GATE VALVE
FILTER
HEATER
FROM POOL
VALVE
CHECK
TO POOL
Figure 8.
Insert
1/8 in. hex.
Allen
Wrench
 Loading...