8
(-) Not shown.
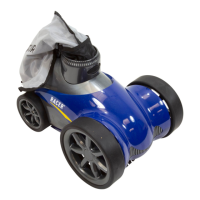
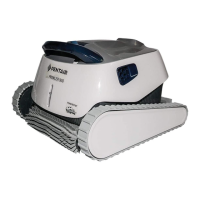
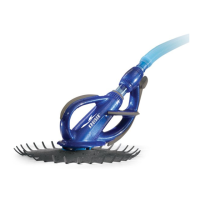
REBEL
®
2 Automatic Vacuum Pool Cleaner Owner’s Manual
REBEL
®
2 Automatic Vacuum Pool Cleaner Owner’s Manual
8 9
10
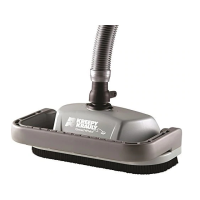
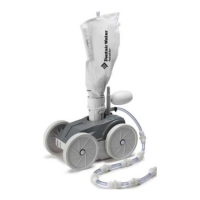
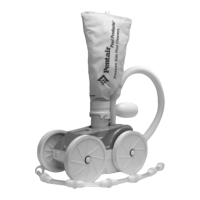
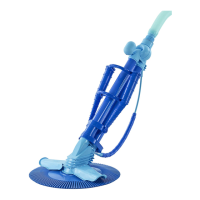
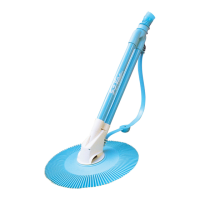
REBEL
®
, WARRIOR
®
and TUCSON
™
Suction-Side Pool Cleaner Installation and User’s Guide
PROBLEM CORRECTIVE ACTION
Cleaner is not moving or is
moving too slowly.
Check ow with ow gauge included or by calculating the cleaner RPM
and adjust the ow if necessary using the regulator valve. See page 4.
Check for debris inside the cleaner itself. See page 6.
Check to be sure the pump has primed. Check for leaks in the system that
may prevent proper priming.
There may not be enough ow through the system. The lter may need
backwashing.
Check to be sure that the main drain and all suction lines are closed,
except for the vacuum or suction line to which the cleaner is attached.
Check for obstructions in the system (e.g. debris in the lter, pump
basket or pump impeller).
Pool pump and lter system may be too small to provide proper water
ow. Consult your pool professional.
Cleaner’s right wheel will not turn
when rotated by hand.
Check for obstructions inside the cleaner itself. See page 6.
Cleaner stays in one end of the pool. Check ow with ow gauge included or by calculating the cleaner RPM
and adjust the ow if necessary using the regulator valve. See page 4.
Check the return line water ow and redirect as necessary.
See page 5.
Check that hose is long enough to reach the furthest point in the pool.
See page 5.
Check for proper hose oat placement. The oat may be in the wrong
position. See page 2.
Be sure that the swivel assembly (at top of cleaner) rotates smoothly.
If not, the swivel assembly may be dirty and require cleaning.
Cleaner climbs the wall too much or
climbs out of pool.
Check ow with ow gauge included or by calculating the cleaner RPM and
adjust the ow if necessary using the regulator valve. See page 4.
Cleaner won’t climb the pool walls.
Check to be sure that the cleaner tires are not excessively worn. See
page 7. Excessively worn tires will not provide the grip necessary for
your cleaner to climb pool walls.
Check ow with ow gauge included or by calculating the cleaner RPM
and adjust the ow if necessary using the regulator valve. See page 4.
Check to be sure that the leader hose has been installed and is in the
correct location. See page 2.
Check for proper hose oat placement. The oat may be in the wrong
position. See page 2.
Cleaner stays on the main drain.
Check to be sure that main drain is closed. May need assistance
from a pool professional.
Check to be sure a main drain grate is installed.
Cleaner falls on its side and takes too
long to recover.
Check for proper hose oat placement. The oat may be in the wrong
position. See page 2.
Check to be sure that the leader hose has been installed and is in the correct
location. See page 2.
Check that the hose is long enough to reach the furthest point in the pool.
See page 5.
The return eyeball ttings may be pushing the cleaner hoses away. See page 5.
Because of the individual characteristics of your pool, some additional adjustments may be required to get the
best performance from your cleaner. Use the following information to resolve possible issues.
ITEM P/N DESCRIPTION
1 360477 TOP COVER
2 360284 BUCKLE KIT
3 360453 SWIVEL KIT
4 SEE TUNE UP KIT WHEEL
5 360482 TIRE SET
6 360483 WHEEL HUB
DRIVE KIT 800085
7 SEE DRIVE KIT LEFT DRIVE
8 SEE DRIVE KIT RIGHT DRIVE
GEAR KIT 800086
10 SEE GEAR KIT GEAR KIT
11 SEE GEAR KIT TURBINE KIT
12 SEE GEAR KIT CAM
13 SEE GEAR KIT CAM GEAR KIT
ITEM P/N DESCRIPTION
ROLLER KIT 8700087
14 SEE ROLLER KIT FRONT ROLLER
15 SEE ROLLER KIT REAR ROLLER
16 SEE ROLLER KIT ROLLER BAR
17 SEE ROLLER KIT WEAR BAR
18 360492 BEARING (4 PCS)
- 360490 LARGE HUMP TIRE
- 360327 LONG RUN CAM
REPLACEMENT PARTS
1
3
12
13
15
16
11
6
5
4
8
18
18
4
5
6
1716
14
2
7
22
18
21
20
19
23
1
12
15
13
16
4
5
6
1716
14
7
2
8
10
18
18
6
5
4
11
3
18
19
20 23
21
22
TROUBLESHOOTING

 Loading...