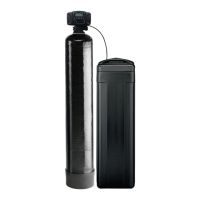
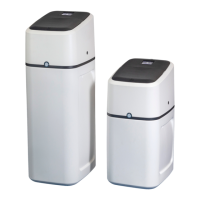
6 • WHOLE HOUSE WATER SOFTENING SYSTEM
INSTALLATION INSTRUCTIONS
1. SAFETY PRECAUTIONS
• To prevent accident or injury, do not hoist the unit over your shoulder. Use a hand truck to transport
the unit.
Do not lay the unit on its side during transportation and/or installation.
• Wear safety glasses and work gloves during installation and service.
2. TEST THE WATER HARDNESS
• The test strip provided is for testing the water hardness after the installation is complete to ensure
the system is functioning properly and for periodic testing. When programming the control it is
necessary to know the exact water hardness in grains per gallon. If you are using municipal water,
your local water providers should be able to give you the hardness level. If you are using water from
a private well, if may be necessary to have the water tested locally.
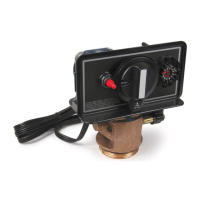
3. CHECK WATER PRESSURE
• Use a pressure gauge to confirm that the water pressure does not exceed 120 psi. If the water
pressure does exceed this limit, install a pressure regulator on the inlet pipe of the unit. The minimum
pressure for a conditioner is 20 psi. 60 psi is the optimum operating pressure.
4. LOCATE A SITE FOR THE UNIT
• There are three primary requirements needed for a site: the main water source, a drain (the drain may
be a floor drain, a sewer trap, utility sink, vent stack, dry well, etc., depending on local plumbing codes)
and an electrical connection. Locate the system as close to these items as practical. Avoid drain
lines over 25 feet long. In most applications, bypass any outside faucets.
• Place the unit in the desired location. The location must have a level, smooth surface.
• If the system is located outdoors, protect the unit from direct sunlight. (Direct sunlight can damage
the fiberglass and other system components.) If necessary, build a box or shed.
Notice
The system can only be installed outdoors in climates that do not reach freezing levels.
Notice
 Loading...