Direct Printing with PictBridge
116
5
Printing Images
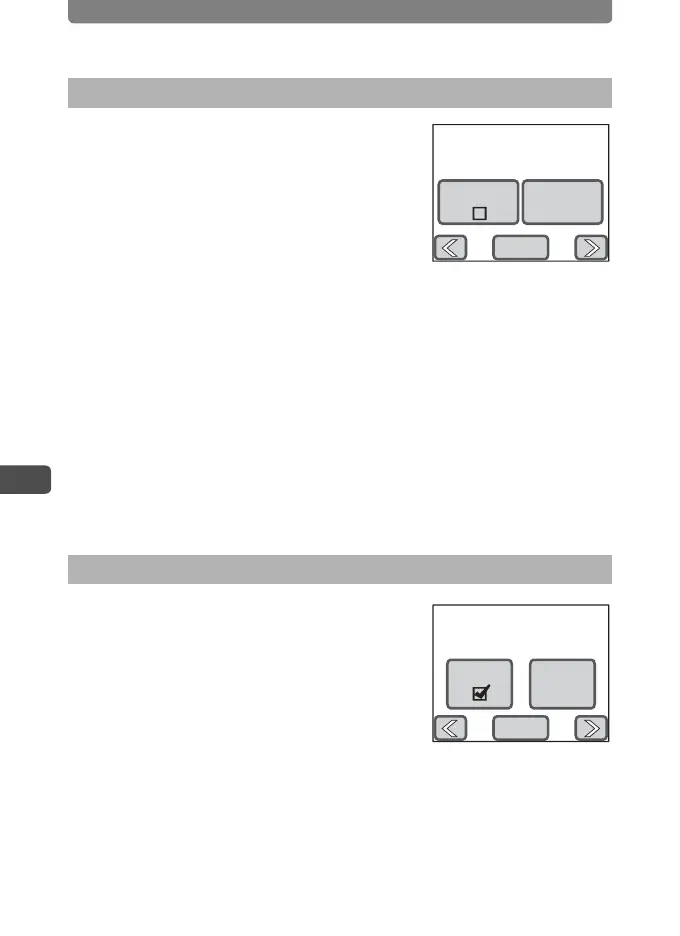
1 In the Printing Mode Selection
screen (Step 5 on p.113), touch
[Print All].
The setting screen appears.
2 Specify the number of copies and if
you want the date to appear on the
print.
Refer to Steps 2 to 4 in “Printing Single Image” (p.114) for how to make
the settings.
3 Touch [Print].
• A confirmation dialog appears.
• Refer to “Changing the Print Settings” (p.115) for how to change the
print settings.
4 Touch [Print].
• Printing starts.
• Touch [Printing Cancel] during printing to cancel printing.
1 In the Printing Mode Selection
screen (Step 5 on p.113), touch
[DPOF Setting].
• The settings you have made appear.
• Touch qr to check the settings for each
image.
2 Touch [Print].
• A confirmation dialog appears.
• Refer to “Changing the Print Settings” for how to change the print
settings (p.115).
3 Touch [Print].
• Printing starts.
• Touch [Printing Cancel] during printing to cancel printing.
Printing All Images
Printing Using the DPOF Settings
Date Copies
1
Print all images
Print
Total 10
Total
Date Copies
10
1
Print with DPOF setting
Print
 Loading...