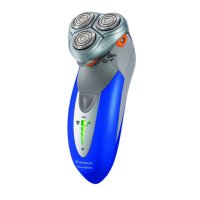
9195XL
2-3
Disassembly:
- Remove shaving unit, to prevent damaging during
repairing.
- Remove the two screws (A) on the backside of the shaver.
- Remove the three screws (B) from the innerhousing.
- Remove the mains from the motor by turning and pulling
the wires out of the motor.
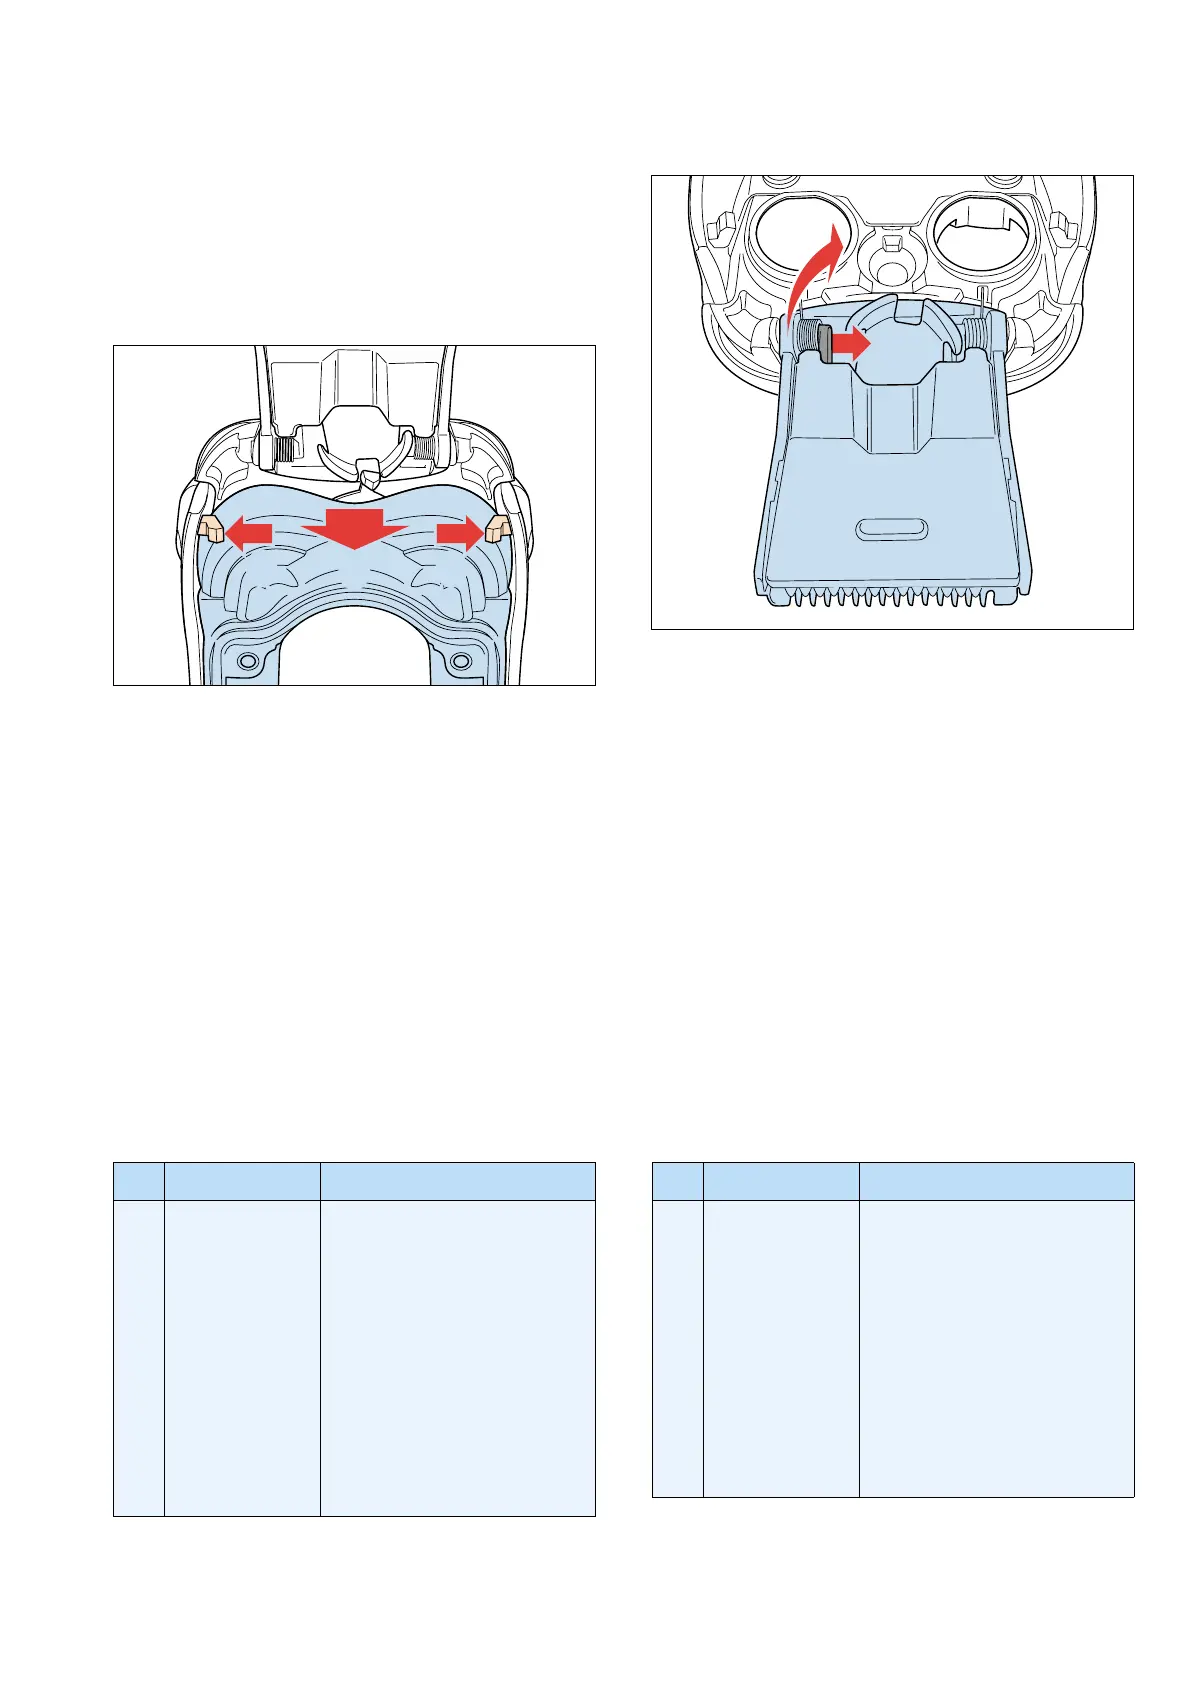
- Remove the two screws (C) for the hairchamber.
- Bent the sideflaps outside and remove the hairchamber.
Think by placing this sideflaps on the nocks.
- Remove driving unit.
DISASSEMBLY- AND RE-ASSEMBLY ADVICE
- Remove the trimmer from the hairchamber by pushing the
black nock by a small screwdriver inside the spring, to the
inside.
REPAIR INSTRUCTION
- No specific issues
OPTIONAL (accessories)
- Cassette : 4222 036 11600
- Stand : 4222 036 11020
- Car cord : 4222 036 08920
1
1
2
1
2
Pos Service code Description
1
2
3
4
5
6
7
8
9
10
11
12
4222 036 11430
4222 036 11020
4222 036 05160
4222 036 11100
4222 036 11110
4222 036 02770
4222 036 11150
4222 036 11180
4222 036 11220
4222 036 11230
4222 036 11210
4222 036 11250
Housing assy 9190
Stand
Power plug NOR
Protection cap Quasar
Floe laquered Quasar
Brush
Shaving head 9-series
Power supply
Holder
Contour following pin
Sidegrip assy
Driving unit 3,6 V
Pos Service code Description
13
14
15
16
17
18
A
B
C
4222 036 11270
4222 036 11280
4222 036 11290
4222 036 11300
4222 036 11320
4222 036 11140
4822 502 14545
4222 036 11480
4222 036 11490
4222 036 11600
4222 036 10860
Trimmer assy
Spacer Li-ion A
Li-ion battery
Inlet connector BB
Cover assy
Cover shell
Screw
Screw (BBM)
Screw
Cassette
Clock
PARTS LIST