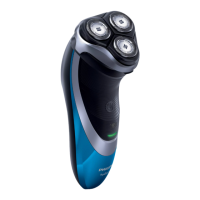
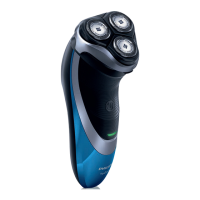
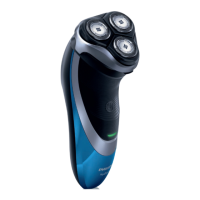
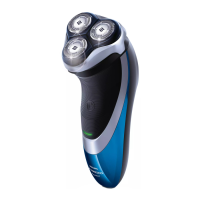
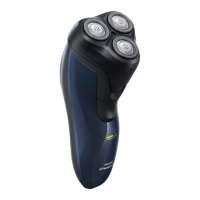
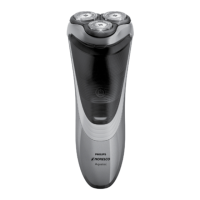
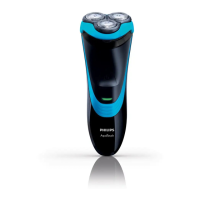
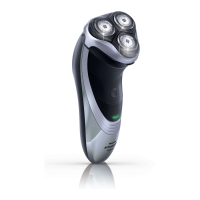
This document describes the Philips AquaTouch shaver, models AT9XX, AT8XX, and AT7XX, designed for both wet and dry shaving. It emphasizes user safety, optimal performance, and easy maintenance.
Function Description
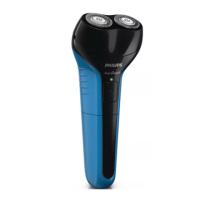
The Philips AquaTouch shaver is a versatile grooming appliance designed for efficient and comfortable shaving. It features a rotary shaving system with multiple shaving heads that move in circular motions to capture and cut hair effectively. The shaver is waterproof, making it suitable for use in the bath or shower, and can be cleaned under running tap water. For safety reasons, it operates cordless when wet.
Many models include an integrated pop-up trimmer for grooming sideburns and moustaches. The shaver is powered by a rechargeable battery, with various models offering different charging and shaving times. An adapter converts mains voltage (100-240V) to a safe low voltage (less than 24V) for charging.
Important Technical Specifications
- Shaving System: Rotary shaving heads (HQ9 for AT941/AT940/AT918; HQ8 for AT897/AT896/AT894/AT891/AT890/AT889/AT887/AT886/AT872/AT811/AT799/AT797/AT796/AT790/AT770/AT756/AT753/AT751/AT750).
- Power: Rechargeable battery operated.
- Voltage: 100-240V mains voltage (via adapter).
- Waterproof: Yes, suitable for wet and dry use, and cleaning under tap water.
- Charging Time & Shaving Time (varies by model):
- 1 hour charge: AT941, AT940, AT918 (60 min shave); AT897, AT896, AT894 (50 min shave); AT892, AT891, AT890 (50 min shave); AT889, AT887, AT886 (50 min shave); AT811 (50 min shave).
- 8 hours charge: AT899, AT896, AT872 (45 min shave); AT799, AT797, AT796 (40 min shave); AT790, AT770, AT756 (40 min shave); AT753, AT751, AT750 (40 min shave).
- Quick Charge: Available on select models (AT941, AT940, AT918, AT897, AT896, AT894, AT891, AT890, AT889, AT887, AT886, AT811) for a 3-minute shave after a short charge.
- Trimmer: Integrated pop-up trimmer on most models (AT941, AT940, AT918, AT897, AT896, AT894, AT891, AT890, AT889, AT887, AT886, AT872, AT811, AT799, AT797, AT796, AT790, AT756).
- Charging Stand: Included with AT941/AT940 models.
- Accessories: Protection cap, adapter, cleaning brush, storage pouch (select models).
Usage Features
The shaver offers flexible usage options:
- Wet Shaving: For enhanced skin comfort, apply water, then shaving foam or gel to the skin. Rinse the shaving unit under the tap to ensure smooth gliding. Move the shaving heads in circular motions over the skin. Regular rinsing of the shaving unit during the shave is recommended.
- Dry Shaving: Simply switch on the shaver and move the shaving heads in circular motions over the skin.
- Trimming: For models with an integrated trimmer, slide the trimmer release downwards to open it. Switch on the shaver and use the trimmer to groom sideburns and moustaches.
- Charge Indications:
- Battery Low: An orange battery symbol (AT941/AT940/AT897) or charging light (other models) flashes when 5 or fewer shaving minutes remain.
- Quick Charging: Battery symbol (AT941/AT940/AT897) flashes orange and white, or charging light (other models) alternates orange and green. Once the indicator turns solid white or green, a 3-minute quick shave is possible.
- Charging: White battery symbol (AT941/AT940/AT897) or green charging light (other models) flashes.
- Battery Fully Charged: White battery symbol (AT941/AT940/AT897) or green charging light (other models) lights up continuously, then turns off after approximately 30 minutes to save energy.
- Cordless Operation: The shaver can only be used cordless for safety reasons, especially during wet use.
Maintenance Features
Regular cleaning and timely replacement of parts are crucial for optimal performance:
- Cleaning the Shaving Unit (Under Tap):
- Switch off the shaver.
- Press the release button to open the shaving unit.
- Rinse the shaving unit and hair chamber under hot tap water for 30 seconds. Be cautious with hot water to avoid burns.
- Close the shaving unit, shake off excess water, then open it again to air dry completely. Do not use towels or tissues to dry the shaving unit.
- Cleaning the Shaving Unit (With Brush):
- Switch off the shaver.
- Press the release button to open the shaving unit.
- Pull the shaving unit off the shaver.
- Turn the lock anticlockwise (A) and remove the retaining frame (B).
- Remove and clean one shaving head at a time (cutter and guard) with the cleaning brush. Ensure matching sets are not mixed.
- Reassemble the shaving heads, retaining frame, and shaving unit.
- Cleaning the Trimmer:
- Switch off the shaver.
- Push the trimmer slide downwards to open it.
- Clean the trimmer teeth with the short-bristled side of the cleaning brush.
- Close the trimmer.
- Lubricate trimmer teeth with a drop of sewing machine oil every six months for optimal performance.
- Replacement Reminder: The shaving head symbol lights up orange continuously to indicate that the shaving heads need replacement (recommended every two years).
- Replacing Shaving Heads:
- Switch off the shaver and disconnect it from power.
- Press the release button to open and pull off the shaving unit.
- Turn the lock anticlockwise (A) and remove the retaining frame (B).
- Remove old shaving heads and place new ones into the shaving unit, ensuring they fit correctly.
- Reassemble the retaining frame (A) by turning the lock clockwise (B), then close the shaving unit.
- Reset the replacement reminder by pressing and holding the on/off button for 5 seconds until the orange light goes out.
- Storage: Always place the protection cap on the shaver. Store the shaver in the supplied pouch (select models).
- Recycling: Do not dispose of the appliance with normal household waste. Hand it in at an official collection point for recycling.
- Battery Removal: Only remove the rechargeable battery when discarding the shaver, ensuring it is completely empty. This involves unscrewing the back, removing panels, bending hooks, and detaching the power unit and battery.