7
(E.g. an article consisting of "60% polyester and 40% cotton" should be
ironed at the temperature indicated for polyester (1) and without
steam.)
If you do not know what kind(s) of fabric(s) the article has been made
of, find a spot which will be invisible when wearing or using the article.
Try out the ironing temperature which is most suitable there. (Start at a
relatively low temperature.)
• Pure woollen fabrics (100% wool) may be pressed with the iron set to a
steam position. Preferably set the steam control to maximum position
and use a dry pressing cloth.
When steam-ironing woollen fabrics, shining of the fabric may occur.
This can be prevented by turning the article inside out and ironing the
reverse side.
• Velvet and other textures which rapidly acquire shiny spots should be
ironed in one direction only (with the nap) applying light pressure.
Always keep the iron moving.
• Iron the reverse side of synthetic materials and silk to prevent shining
spots. Do not use the spray to prevent stains.
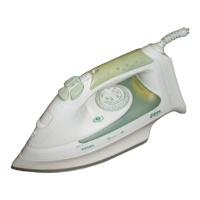
Setting the temperature
- Stand the iron on its end.
- Set the temperature control (A) to the correct ironing temperature as
indicated in the ironing instructions or in the table. (See fig. 5.)
- Insert the mains plug into the wall socket.
- After the amber temperature pilot light (H) first has gone out and has
come on again, you may start ironing.
• The amber pilot light will come on from time to time during ironing.
• If you set the temperature control to a lower setting after ironing at a
high temperature, do not begin again before the amber pilot light has
come on and gone out again.
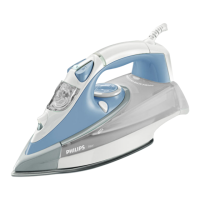
Spraying T
At any temperature by pushing on the spray button T (C) a couple of
times the laundry can be damped down (fig. 6).
Ensure that there is enough water in the water reservoir.
 Loading...