English
Overview of parts 1
These are the supplied parts needed to connect
and install this unit.
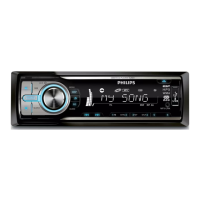
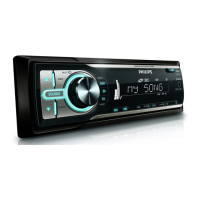
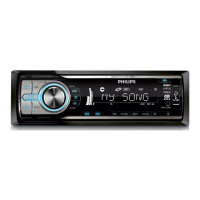
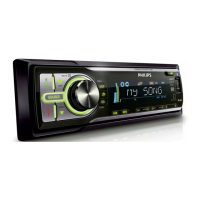
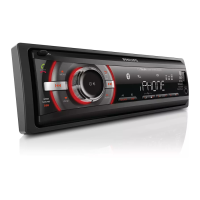
a Main unit
b Sleeve
c Front panel
d Trim plate
e Rubber cushion
f Disassembly tools
g Screws (4 pieces)
h
Standard ISO connector
Select country/region
1 Press to turn on the unit.
2 Rotate to select an option:
[USA] (United States)•
[Latin] (Latin America)•
[Europe] (Western Europe)•
[ASIA] (Asia Pacifi c)•
[Mid-East ] (Middle East)•
[Russia] (Russia)•
3 Press to confi rm.
Connection
For cars with ISO connectors
234
1 Pull out the ISO connectors from car
dashboard and connect them to the bigger
end of the supplied standard connector.
2 Connect the other end of the supplied
standard connector to the unit.
3 Connect the antenna and amplifi er as
illustrated, if applicable. You can connect the
car audio to the amplifi er through RCA-TO-
RCA cables (not supplied).
Connector Connect to
1 ANTENNA Antenna
2 REAR LINE
OUT R
Rear right speaker
3 REAR LINE
OUT L
Rear left speaker
For cars without ISO connectors
4 5
1 Connect the antenna and amplifi er as
illustrated, if applicable.
2 Cut off the bigger end of the supplied
standard connector.
3 Check the car’s wiring carefully, then connect
them to the supplied standard connector.
1 Green/black strip Left speaker (Rear)
2 White/black strip Left speaker
(Front)
3 Gray/black strip Right speaker
(Front)
4 Purple/black strip Right speaker
(Rear)
e RED Ignition key +12V DC when
ON/ACC
f BLUE Motor/electric antenna relay
control lead/Amplifi er relay
control lead
g BLACK Ground
h YELLOW To the +12V car battery
which is energized at all times
4 Connect the supplied standard connector to
the unit.
Mount into the dashboard 6
1 If the car does not have an on-board drive or
navigation computer, disconnect the negative
terminal of the car battery.
2 Remove the two screws on the top of the
unit.
3 Remove the mounting sleeve with the
supplied disassembly tools.
4 Install the sleeve into the dashboard and bend
the tabs outward to fi x the sleeve.