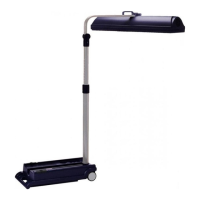
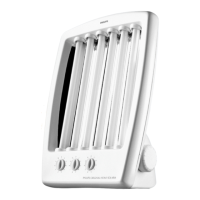
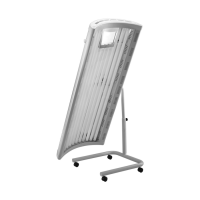
General description (fig. 1, page 3)
A Wheels
B Mains cord in storage compartment
C Handgrip
D Timer
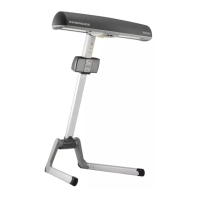
E Memos (for two persons)
F Slides
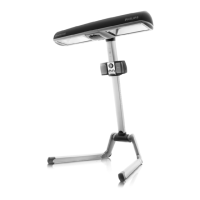
G Stand
H Locking for height adjustment
(to unlock: slide collar downwards)
I Locking for upper casing
(to unlock: press the two lips downwards)
J Handgrip
K Fan (cooling)
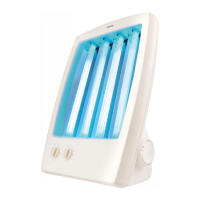
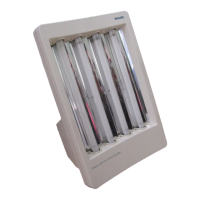
L Upper casing
M UV filter glass
N Sun lamps (type Philips HPA flexpower 400 - 600)
O Reflector
P Tape measure
Q Protective goggles (2x)
(Type n
o
. HB 072 / service n
o
. 4822 690 80147 - illustrated - or
type n
o
HB 071 / service n
o
. 4822 690 80123 - not illustrated - )
R Lower casing
S Rating plate
T Hours counter
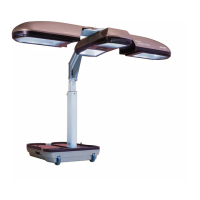
Making the solarium ready
for use
In the "transport position"
your solarium is on wheels so
that you can easily move and
store it.
- Lifting is easier with two
people (fig. 3a).
If you must lift the solarium
by yourself, it is advisable to
use the handgrip (C)
(fig. 3b). Please note: the
appliance weighs more than
28 kg.
- Unlock the upper casing (L)
from the lower casing (R) by
pushing the slides (F) in the
direction of the arrow (fig. 4).
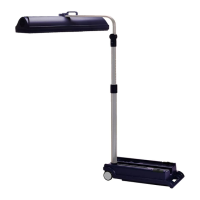
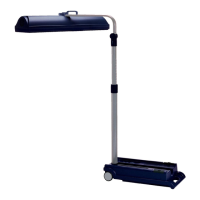
- Pull the stand (G) and the
upper casing (L) upwards
(fig. 5).
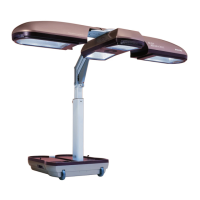
- Put the solarium into the
position shown in fig. 6.
- Position the upper casing (L)
horizontally. Use the
handgrip (J) (fig. 7).
You will hear clicks when
passing the various fixed
positions.
- Instead of the step-by-step
method described here, you
may use a combined
movement.
Hold the handgrip (J) (fig. 8).
- Rotate the upper casing a
quarter turn (fig. 9 and 10).
- Position the solarium next to
the bed as shown in fig. 11.
 Loading...