-
- For a stable stand of the appliance, always keep the countertop and the bottom of the appliance clean.
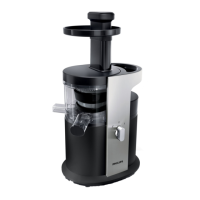
- Make sure all parts are correctly assembled before you switch on the appliance.
- Only use the appliance when the locking arm is in locked position.
-
- Always unplug the appliance after use.
Safety feature
-
off. If this occurs, set the control knob to 0, unplug the appliance and allow it to cool down for 15
properly and according to the instructions in this user manual, the appliance is safe to use based on
Preparing for use
1
Make sure all detachable parts are clean (see chapter ‘Cleaning’) and assembled correctly.
2 Unwind the mains cord from the base of the motor unit (Fig. 3).
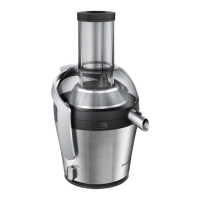
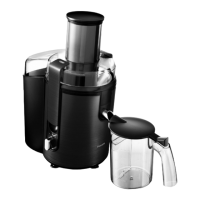
3 Assemble the integrated pulp container onto motor unit (Fig. 4).
4 Assemble the juice collector onto the integrated pulp container (Fig. 5).
5
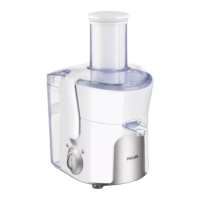
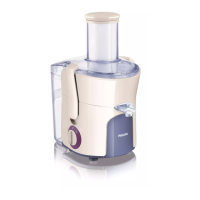
6 Assemble the lid onto the juicer (Fig. 7).
7 Lift the locking arm to locked position (Fig. 8).
8
Note: The integrated foam separator ensures clear juice as an end result.
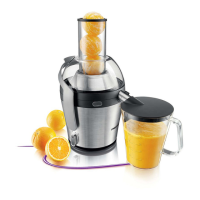
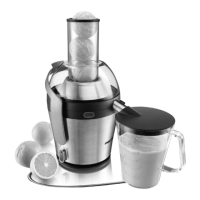
9 Place the juice jug under the spout (Fig. 10).
Note: If you want to extract juice straight into a glass, use the spout accessory (Fig. 11).
Using the appliance
The appliance only functions if all parts are assembled correctly and the locking arm is in locked
position.
1
feeding tube.
2 Make sure the juice jug is placed directly under the spout (Fig. 10).
3 Turn the control knob to setting 1 (low speed) or 2 (normal speed) to switch on the
appliance (Fig. 12).
ENGLISH 7