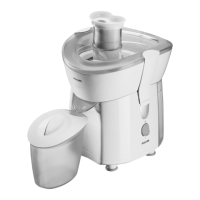
Caution
- This appliance is intended for household use only.
- Do not hold the appliance by the locking arm when you carry it.
- Never use any accessories or parts from other manufacturers or that Philips does
not specically recommend. If you use such accessories or parts, your guarantee
becomes invalid.
- Make sure all parts are correctly assembled before you switch on the appliance.
- Only use the appliance when the locking arm is in locked position.
- Only lower the locking arm to unlocked position after you have switched off the appliance and
the lter has stopped rotating.
- Do not operate the juicer for more than 40 seconds at a time when you juice heavy loads and
let it cool down sufciently afterwards. None of the recipes in this user manual constitute
heavy loads.
- Always unplug the appliance after use.
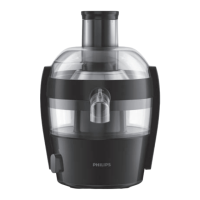
Safety feature
- This juicer is tted with a safety feature which safeguards against overheating due to excessive
loads. In case of overheating, the juicer automatically activates the overload protection and
switches itself off. If this occurs, set the control knob to 0, unplug the appliance and allow it to
cool down for 15 minutes. Remove the juice jug and detach the lid, juice collector and the
integrated pulp container and then press the overload protection button on the bottom of the
motor unit (Fig. 2).
Electromagnetic elds (EMF)
This Philips appliance complies with all standards regarding electromagnetic elds (EMF). If handled
properly and according to the instructions in this user manual, the appliance is safe to use based on
scientic evidence available today.
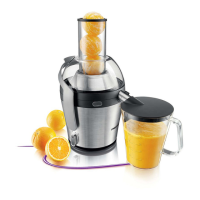
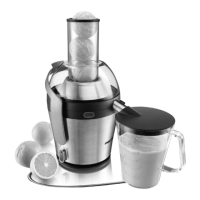
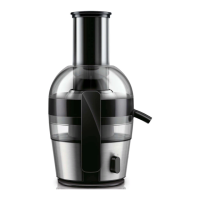
Preparing for use
1 Make sure all detachable parts are clean (see chapter ‘Cleaning’) and assembled correctly.
2 Unwind the mains cord from the base of the motor unit (Fig. 3).
3 Assemble the integrated pulp container onto motor unit (Fig. 4).
4 Assemble the juice collector onto the integrated pulp container (Fig. 5).
5 Assemblethelterontothedrivingshaftofthemotorunit.Makesurethelteristted
securelyontothedrivingshaft(‘click’)(Fig.6).
6 Assemble the lid onto the juicer (Fig. 7).
7 Lift the locking arm to locked position (‘click’) (Fig. 8).
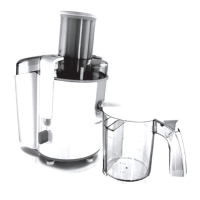
8 Placethelidonthejuicejugtoavoidspattering(Fig.9).
Note: The integrated foam separator ensures clear juice as an end result.
9 Place the juice jug under the spout (Fig. 10).
Note: If you want to extract juice straight into a glass, use the spout accessory (Fig. 11).
10 Turnthespouttotheowpositionbeforeyoustartjuicing(Fig.12).
ENGLISH 7