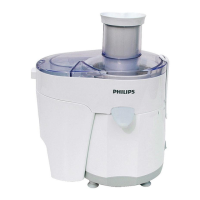
8
- Only use the appliance when the locking clamp is in
locked position.
- Only unlock the locking clamp after you have switched
o the appliance and the juicing screw has stopped
rotating.
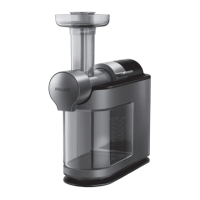
- Do not remove the pulp container when the appliance
is operating.
- Cut large ingredients into pieces that t into the feeding
tube. Remove stones, cores, seeds and thick peels from
fruits or vegetables before juicing.
- Do not exert too much pressure on the pusher to avoid
damage.
- Food colouring can discolour parts. This is normal and
has no impact on the performance of the appliance.
- To optimise the lifetime of the appliance, do not use it
continuously for more than 30 minutes.
Built-in safety lock
The appliance is equipped with a built-in safety lock. The safety pins on the motor
unit ensure that you can only switch on the appliance if you have placed the juicing
unit and the pulp container on the motor unit correctly.
Electromagnetic elds (EMF)
This Philips appliance complies with all applicable standards and regulations
regarding exposure to electromagnetic elds.
Before rst use
Thoroughly clean all parts before you use the appliance for the rst time (see
chapter ‘Cleaning’).
Note: Make sure all parts are completely dry before you start using the appliance.
Preparing for use
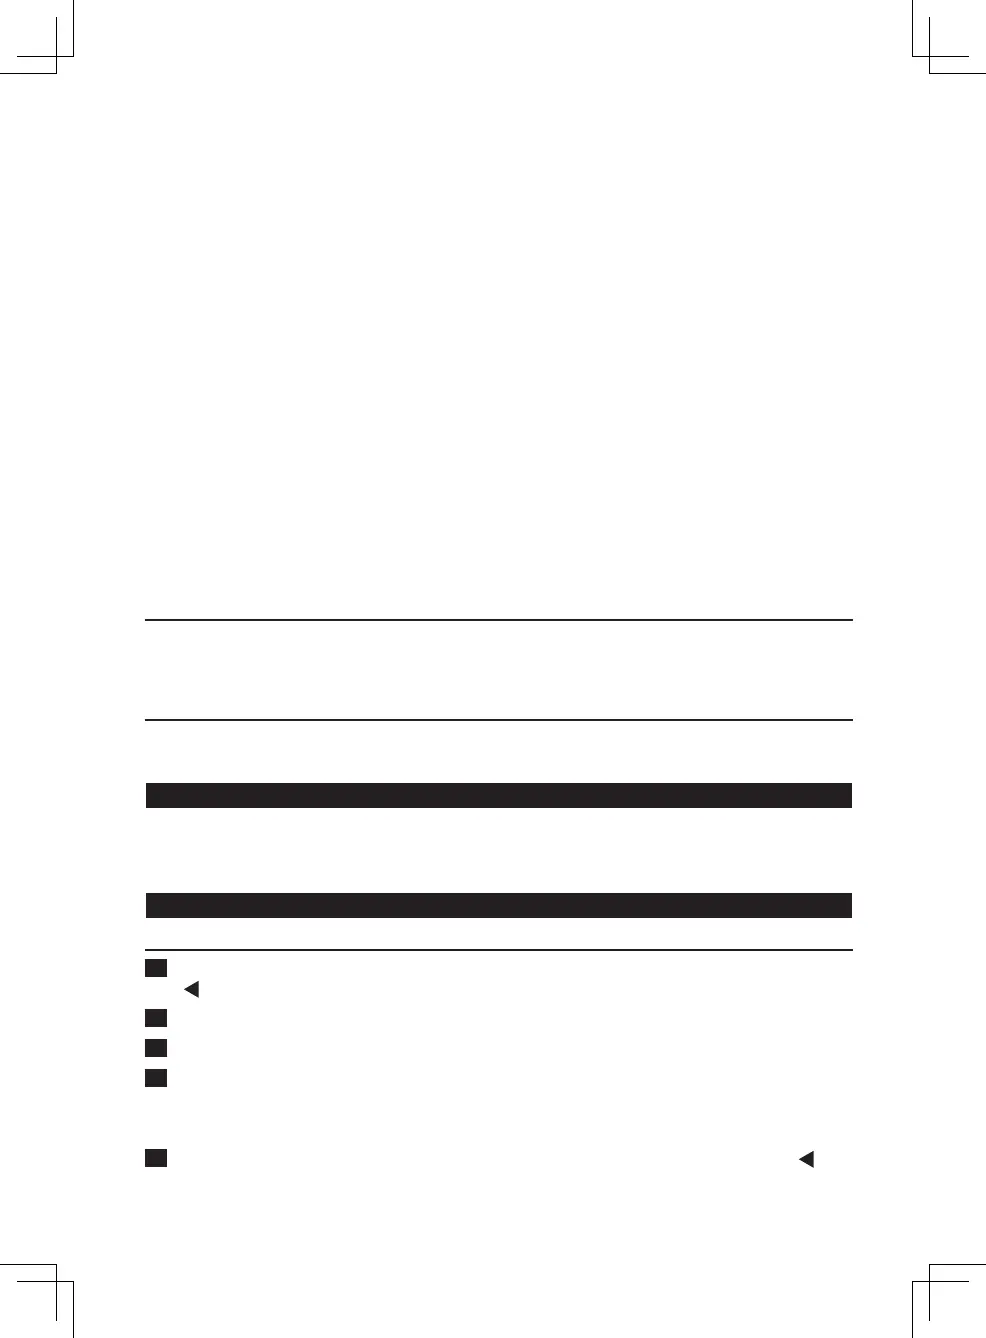
Assembling the juicing unit
1 Attach the pulp outlet to the juicing unit and turn it clockwise until the arrow
(
) points to the ‘locked’ indication. (Fig. 2)
2 Insert the juicing screw into the juicing unit (Fig. 3).
3 Assemble the two parts of the lter (Fig. 4).
4 Place the two-part lter over the juicing screw (Fig. 5).
Tip: Use the black two-part filter for clear juice. If you prefer cloudy juice with
more fibres in it, use the grey two-part filter.
5 Attach the spout to the juicing unit and turn it clockwise until the arrow (
)
points to the ‘locked’ indication. (Fig. 6)