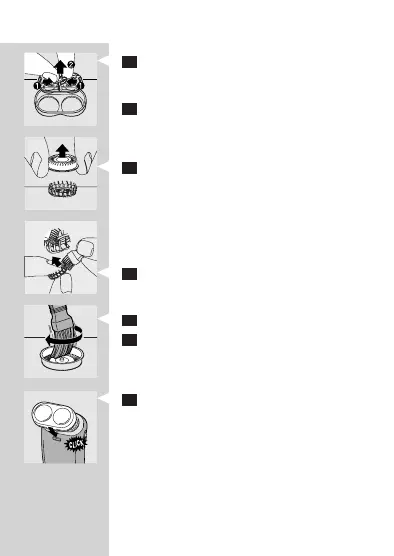
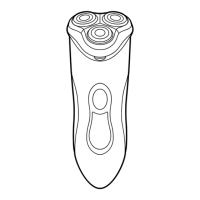
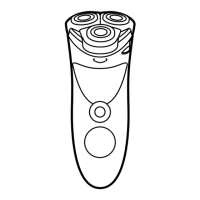
3 Push the sides of the central spring towards
each other (1) and then lift the retaining frame
out of the shaving unit (2).
4 Slide the shaving heads out of the retaining
frame.
Hold your nger underneath the shaving head to
prevent the cutter from falling out.
5 Disassemble and clean the shaving heads one
by one.
Note: Do not clean more than one cutter and guard
at a time, since they are all matching sets. If you
accidentally mix up the cutters and guards, it may take
several weeks before optimal shaving performance is
restored.
6 Clean the cutter with the short-bristled side of
the cleaning brush.
Brush carefully in the direction of the arrow.
7 Clean the guard with the cleaning brush.
8 Slide the shaving heads back into the retaining
frame and put the retaining frame back into the
shaving unit.
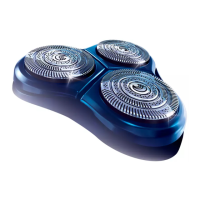
9 Put the shaving unit back onto the shaver.
Tip: For extra thorough cleaning, clean the shaving
heads by putting them in a degreasing liquid (e.g.
alcohol) every six months. To remove the shaving heads,
follow steps 1 to 4 described above. After cleaning,
lubricate the central point on the inside of the guards
with a drop of sewing machine oil to prevent wear of
the shaving heads.
ENGLISH8