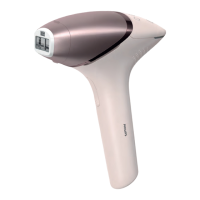
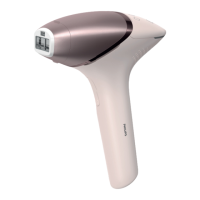
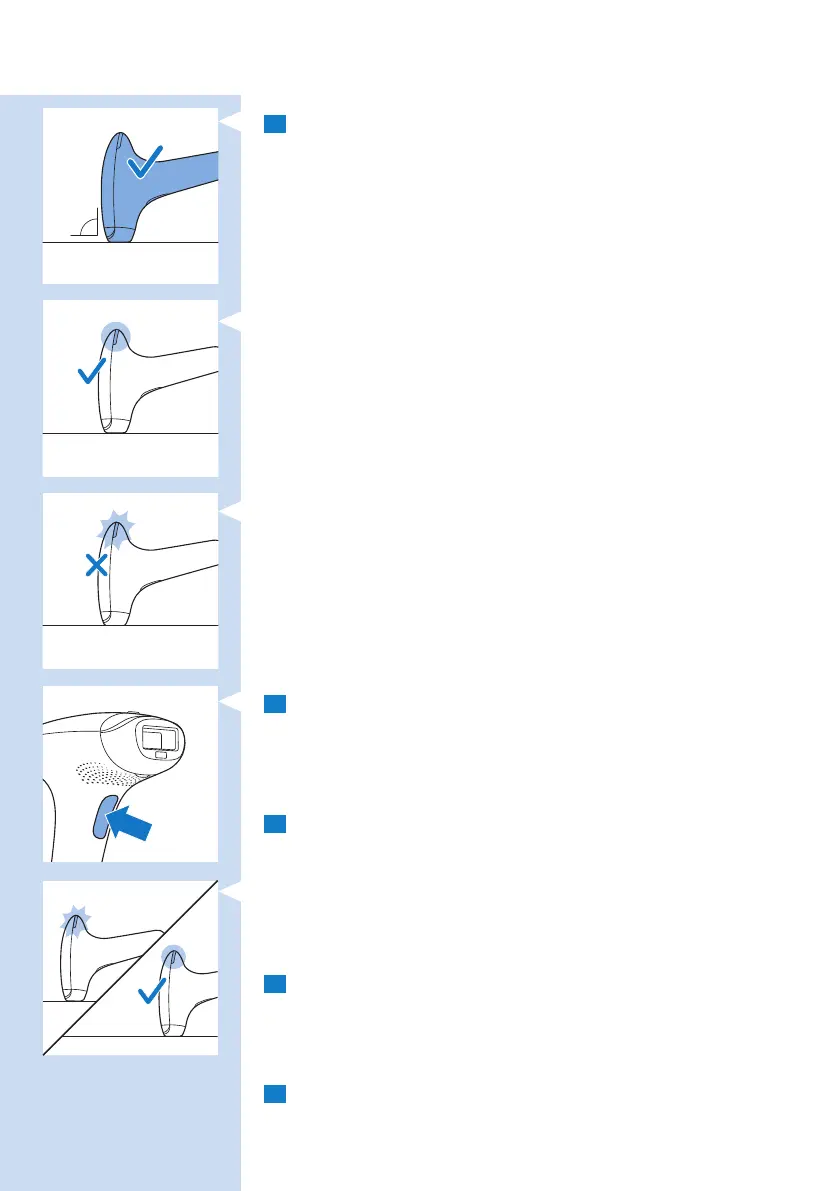
6 Place the appliance at a 90° angle on the skin so that the attachment
is in contact with the skin. Press the appliance rmly onto the skin to
ensure skin contact.
Tip: For easier use, stretch the area of skin you want to treat.
, The appliance automatically performs a skin tone analysis.
- When the ‘ready to ash’ light on the back of the appliance lights up
white, your skin is suitable for treatment with the appliance and you
can proceed.
- When the ‘ready to ash’ light rst ashes orange and then lights up
orange continuously, your skin is not suitable for treatment with the
appliance and the appliance is disabled. You might be able to use Philips
Lumea Essential on less tanned or naturally lighter body parts. If this
does not work, please contact Philips Consumer Care.
7 Press the ash button to release a ash.
Note: The visible light produced by the appliance is the reection of the ash
on the skin and is harmless to your eyes. It is not necessary to wear goggles
during use. Use the appliance in a well-lit room; this reduces the perceived
brightness of the ash.
8 Release the ash button once the appliance has ashed.
, The ‘ready to ash’ light starts blinking white to indicate that the
appliance is getting ready to release a ash.
, When the appliance is ready to release a ash, the ‘ready to ash’
light lights up white continuously.
9 Slide the appliance over the skin to the next area to be treated. As
long as it feels comfortable (not painful), increase the setting by one
level within the recommended range for your skin type and apply
one ash for each setting. Do not apply more than one ash on
the same spot.
10 When you have nished the treatment, press and hold the on/off
button for 2 seconds to switch off the appliance.
90º
ENGLISH 17