REPLACING THE SHAVING HEADS
OPERATION
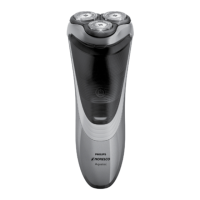
OVERVIEW
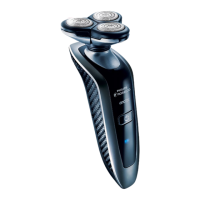
Buttons explained for new Philips
Norelco AT810 shaver.
CHARGING & POWER
To prolong shaver lifespan charge
before first use and only when indicat-
on/o button once.
1.
Power shaver o by pressing on/
o button once.
2.
Connect shaver to supplied AC char-
ger only and any 100V-240V AC outlet.
3.
Shaver display will indicate battery
is charging.
4.
Unplug shaver when charge indicator
flashes three continuous white lights.
LED DISPLAY
BATTERY CHARGE INDICATOR
A. Charging Indicator. B. Full Charge Indicator.
C. Low Battery Indicator. D. Three continuous white lights.
E. Shaver Head Replacement
Indicator.
CLEANING
• Always clean your shaver after each use.
• Always switch shaver OFF, unplug and remove power cord before cleaning.
• Press the Shaver Head Release Button to open the Shaver Head Assembly.
• Clean inside shaving heads and hair chamber by running under hot water.
• Clean outside of Shaver Head Assembly by running under hot water.
• Never clean, remove or replace head assembly while motor is on.
• Regular cleaning guarantees better shaving results.
• Do not immerse shaver in water.
• While rinsing shaving heads, water may drip out of the base of shaver. This is a
normal occurrence.
• Do not apply pressure to combs. Do not touch shaving heads with hard
objects as this may dent or damage precision-made slotted combs.
• Do not use shaver if combs are damaged or broken. Facial injury may occur.
• Do not use compressed air, abrasives, scourers or aggressive liquids such
as gasoline or acetone to clean the shaver.
NOTE: THE ACCE SSORIES SUPPLIED MAY VARY FOR DIFFERENT PROD-
UCT S. THE PACKAGE SHOWS ACCESSORIES THAT HAVE BEEN SUPPLIED
WITH YOUR PRODUCT.
1. Turn shaver OFF, remove the charging plug from the outlet and power cord
from the shaver.
2. Press the Shaver Head Release Button to open the Shaver Head Assembly.
3. Pull the shaving unit OFF the shaver.
4. Turn the lock counterclockwise to unlock.
5. Remove the shaving heads and place the new shaving heads in the shaving unit.
6. Replace the frame and turn the lock clockwise until it locks into place.
7. Insert the notch of the shaving unit into the slot in the top of the shaver.
shaver head replacement indicator symbol will go out.
• NOTE: If the shaving unit does not close smoothly, make sure you inserted the
shaving heads properly and that the retaining frame is locked.
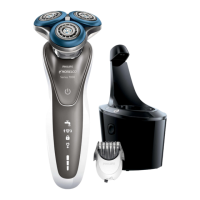
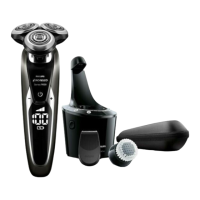
AVAILABLE ACCESSORIES
AT810 SHAVER, CHARGER, OPERATION GUIDE, 1-YEAR EXTENDED SERVICE.
AFTER EACH USE: TRIMMER
• Turn shaver OFF.
• Push down spring-release trimmer switch.
• Clean trimmer with the short-bristled side of the brush every time you use it.
Brush up and down along the trimmer teeth.
• Lubricate the trimmer teeth with onedrop of mineral oil every 6 months.
• Close trimmer by pressing trimmer down.
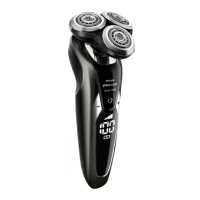
Lift and Cut System.
Shaver Head
Assembly.
Protective Cap.
Individually
Floating
Heads.
Shaver Head
Release Button.
• Hair Chamber
captures shaven
hair .
Electronic
ON/OFF Button.
Shaver Head
Replacement Indicator.
LED Charge
Indicators.
• Battery Charge, Full,
Low & Quick Charge
Indicators.
 Loading...