Do you have a question about the Philips Saeco INTELIA and is the answer not in the manual?
Specifies necessary documentation for repair procedures, including manuals and technical guides.
Lists essential tools and equipment needed for maintenance and repair tasks.
Details the materials and consumables required for service, such as paste and descaler.
Outlines critical safety precautions, warnings, and procedures for handling the appliance.
Defines the policy for warranty and out-of-warranty repairs, emphasizing component usage.
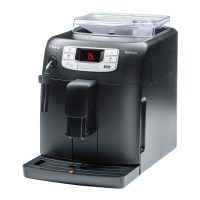
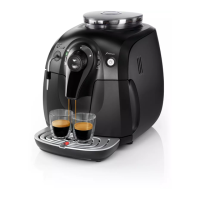
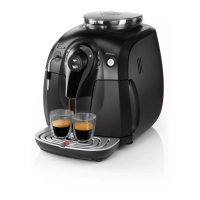
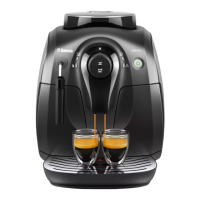
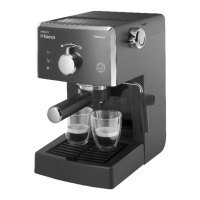
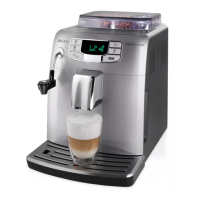
Identifies and illustrates the external components of the coffee machine models.
Identifies and illustrates the internal components of the coffee machine models.
Provides detailed technical data, power requirements, dimensions, and capacities.
Defines the procedure and acceptance limits for measuring coffee product temperature.
Outlines the procedure and acceptance criteria for measuring milk product temperature.
Details machine parameters, performance metrics, and descaling cycle frequency.
Explains the customer interface, machine ready signals, and notice signals for Intelia Cappuccino.
Details the customer interface, ready signals, and notice signals for Intelia Latte.
Describes the customer interface, ready signals, and notice signals for Intelia Focus and Class.
Explains the customer interface, ready signals, and warning signals for Intuita models.
Provides instructions for operating the machine, cleaning, and scheduled maintenance.
Illustrates and explains the water flow path and components within the machine.
Details the sequence of operations and timing for the coffee brewing cycle.
Explains the function and operation of the single microswitch within the unit.
Describes the temperature sensor, its function, and adjustment parameters.
Explains the coffee grinder mechanism, its components, and operation.
Covers bean level detection, dose quantity adjustment, and grinder blockage detection.
Details the automatic dose adjustment function based on performance data.
Explains how the water level sensor functions and triggers low water alerts.
Describes the descaling notification system based on water hardness and filter usage.
Explains the function, benefits, and lifespan of the water filter system.
Details the operation and components of the milk carafe system.
Provides step-by-step guides for entering and performing diagnostic tests on various models.
Lists and describes common error codes and their potential causes and solutions.
Introduces the Saeco Service Center tool for reprogramming and diagnostics.
Outlines the systematic process for diagnosing and repairing faults encountered with the appliance.
Details the steps for disassembling the external casing of the Intelia Cappuccino model.
Provides instructions for disassembling the external casing of Intellia Class and Focus models.
Explains the procedure for removing and disassembling the coffee grinder unit.
Describes how to extract and handle the grinder blades and adjustment spindle.
Outlines procedures for adjusting the coffee grinder fineness by user and service center.
Details the steps for disassembling the three-way solenoid valve in the Intelia Cappuccino.
Provides instructions for disassembling the two-way solenoid valve in Intellia Class and Focus.
Details the procedure for disassembling a specific type of two-way solenoid valve.
Explains how to remove and work with the carafe fitting body on the Intelia Cappuccino.
Describes the process for disconnecting and removing the water pump assembly.
Details the steps for removing the flow meter from the machine.
Explains how to disconnect and remove the main control board.
Outlines the procedure for removing the water sensor control board.
Details the steps for removing the gear motor assembly from the unit.
Describes how to release and remove the boiler cover and the boiler itself.
Explains the procedure for removing the dispenser assembly.
Details the steps for disassembling various valves within the machine.
Outlines the process for removing the control board and display unit.
Provides instructions for fitting and removing Oetiker clamps used in connections.
| Pump Pressure | 15 bar |
|---|---|
| Milk Frother | Yes |
| Grinder | Ceramic |
| Adjustable Coffee Strength | Yes |
| Removable Brew Group | Yes |
| Adjustable Coffee Spout Height | Yes |
| Color | Black |
| Voltage | 230 V |
| Programmable | Yes |
| Adjustable Coffee Temperature | Yes |
| Adjustable Coffee Volume | Yes |
| Automatic Rinsing | Yes |
| Automatic Shut-off | Yes |
| Cup Warmer | No |
| Pre-Brew Aroma System | Yes |
| Descaling Alert | Yes |
| Water Filter | Yes |
| Type | Espresso Machine |
| Water Tank Capacity | 1.5 L |
| Bean Hopper Capacity | 300 g |
| Material | Plastic |