21
English
2
Pull the drip tray straight out. Rinse the drip tray and
wipe it clean with a damp cloth.
3
Clean all interior surfaces with a damp cloth.
4
Remove the protective screen in front of the UV light
bulb.
To remove the screen, grasp the edges next to the
snaps, gently squeeze and pull out the protective
screen.
5
Remove the UV light bulb.
To remove the light bulb, grasp it and pull it out of the
metal clasp.
6
Clean the protective screen and the UV light bulb with
a damp cloth.
7
Reinsert the UV light bulb.
To reinsert the light bulb, align the bottom of the light
bulb with the metal clasp and push the bulb into the
clasp.
8
Reinsert the protective screen.
To reinsert the screen, align the pegs on the screen
with the slots on the reflective surface near the UV
light bulb. Push the screen straight into the slots on
the sanitizer.
9
Place the drip tray back in the UV sanitizer.
10
After cleaning, make sure the sanitizer is completely
dry before you connect it to the mains.
Storage
If you are not going to use the product for an extended
period of time, unplug it from the electrical outlet, clean
it and store it in a cool and dry place away from direct
sunlight.
Replacement
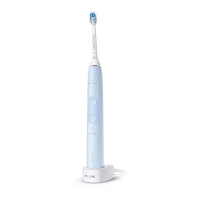
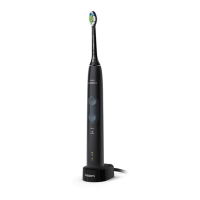
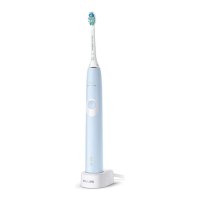
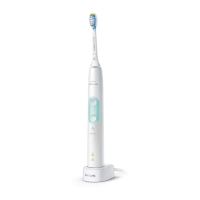
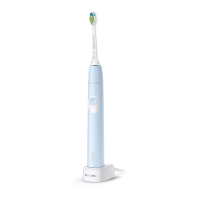
Replace Philips Sonicare brush heads every 3 months to
achieve optimal results. Use only Philips Sonicare
replacement brush heads.
 Loading...