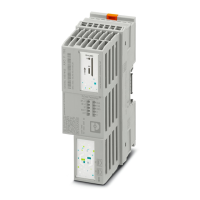
AXC 1050 (XC)
80
PHOENIX CONTACT 8482_en_03
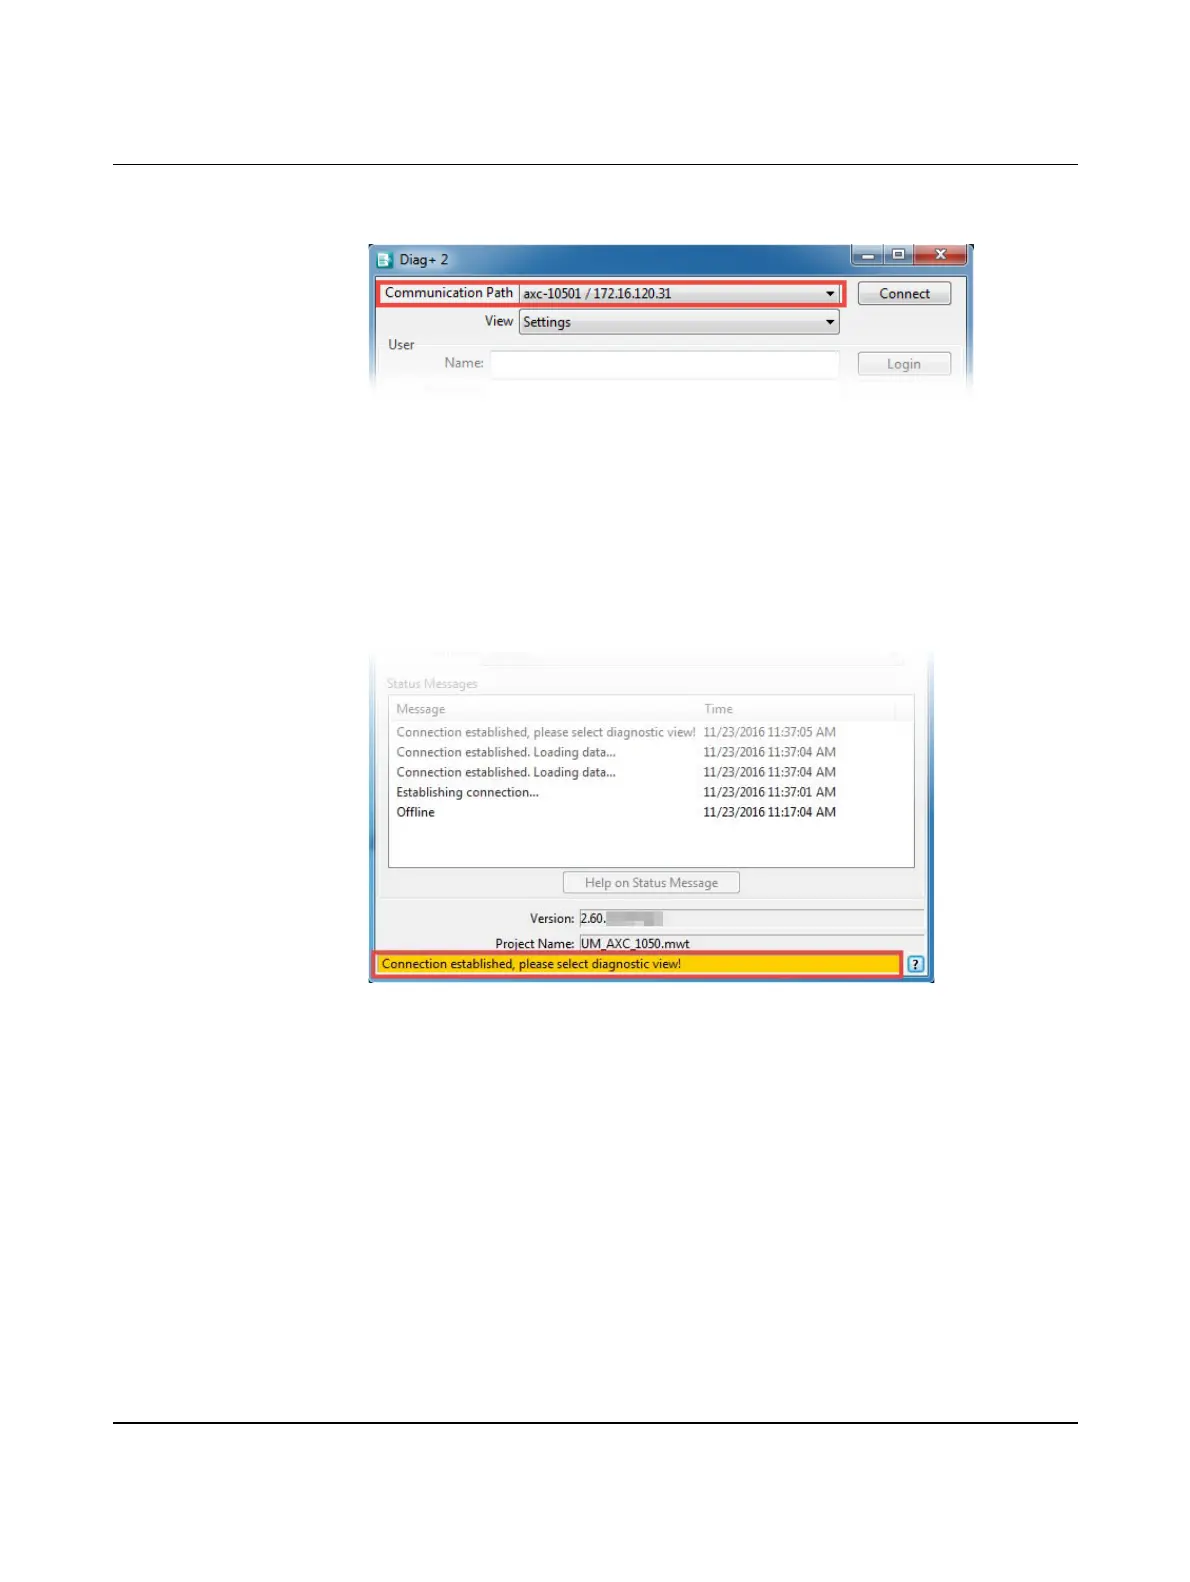
After completing the scan process successfully, the AXC 1050 (XC) controller will display
the following:
Figure 7-2 Communication path in Diag+ 2: AXC 1050 (XC) controller found
• Make sure that "Axioline Modules" is set as the device type in the "Device Representa-
tion" field (see Figure 7-1).
In this example, the "Slot Number" and "Order Designation" are selected for the display of
the Axioline F modules.
• Click on the "Connect" button.
After the connection between Diag+ 2 and the controller has been established successfully,
you are prompted at the bottom of the dialog box to select the diagnostic view.
Figure 7-3 Connection established successfully: selecting the diagnostic view
 Loading...