The pictures shown below may differ from the actual products. To purchase
additional or optional products, contact our customer center.
Package
1
[USB Cable]
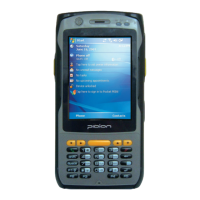
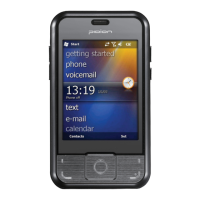
[BIP-6000 Main Body]
[Stylus Pen][Desktop Cradle][Battery (High Capacity)]
[Adaptor] [Spring Wire]
Closed View of Your Phone
2
Power Button
Speaker
Power LED
Communication LED
LCD Screen
Direction/Send/
End/Number/
Character/Function
Buttons
Barcode Scanner Window
USB Cable Connector
Mice
Stylus Pen
Side
Scanner
Button
Earphone Jack
Side
Scanner
Button
IrDA
Stylus Pen Strap
Hand strap holder - Top
Flash
Camera
Speaker
Reset Button
Battery
Battery Fixing Pin
Hand strap holder - Bottom
Front scanner Button
Inserting/Extracting USUM/USAM Card
4
To remove the USIM
Remove the USIM card (or
USAM card) in the direction of
the arrow.
To insert the USIM/USAM
Insert the USIM card (or USAM
card) in the direction of the
arrow.
What is a USAM card?
The USAM card is an embedded application module of a smart card mounted
inside of a card reader to authenticate the validity of cards and stations, prevent
information disclosure by encrypting communication data and authenticate and
validate communication messages.
What is a USIM card?
The USIM card is the combination of a SIM card with subscriber information and a
Universal IC card (UICC) accommodating communication and financial information
and implements various functions including user authentication, global roaming,
e-commercial functions as a single card.
Removing battery without power off may cause a technical problem.
Turn off a PDA by using [Power] button on PDA completely to prevent
causing problem of PDA.
When PDA is failing to turn on due to removing battery witout turn off,
please make hard-reset the PDA.
Please press (# button + Enter button + Reset button) at the same time.
All information from Memory (RAM) will be all deleted after hard-reset.
Connecting/Disconnecting Battery
3
To disconnect the battery
1 Power off the PDA.
2 Turn the fixing pins on both
sides of the battery pins
outward to disconnect the
battery.
3 Pull out the battery after
lifting it in the direction of
the arrow.
To connect the battery
1 Align the battery to the
groove and insert in the
direction of the arrow.
2 Turn the fixing pins on both
sides of the battery pins
inward until the battery is
secured.
For more detailed information, refer to the corresponding user manual on our homepage.