HUNTER-PRO 32 Intruder Alarm System - Installation Manual
38
3.10 .1
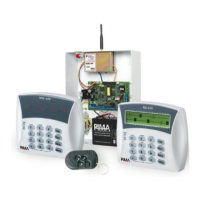
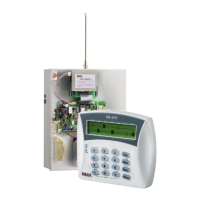
LCD Keypads: RXN-400/410
TMPR
2
TMPR
1
ON/
OFF
ALARM
KEYPAD
JP5
-S1S2CN.ON.C
-
SIREN RELAY SMOKE
-+IN
OUT
F4F3
Control
Panel
3
2
1 JAN 04 12:40
RXN-410
Drawing 12-Connecting LCD keypad to control panel
PIMA’s new keypads contain a tamper switch that “supervises” the keypads
connected to the system. In order to enable this feature:
1. Configure exactly the number of keypads connected to the system:
Short JP1 legs 1 and 2 on the keypad (see drawing 11).
JP1
PROGRAMMING
U1
1
TAMPER
TAMPER
TAMPER
4
3
2+V
1-V
BUS
+
-
OUT
IN
TAMPER
Terminal block
connection to
control panel
RJ11- connecting
to the fast
programmer
(PRG-22) and
local programming
adaptor LCL-11A
JP1:
Programming
number of
keypads
Drawing 13-LCD keypad without back cover
Then, in the following programming
screen, enter desired number of
keypads (1 to 8):
Enter new ID: 1
To finish, short JP1 legs 2 and 3 (i.e. return the jumper).
2. Each of the keypads need be given a unique ID number.
 Loading...