32 HUNTER-PRO Series Installation Guide
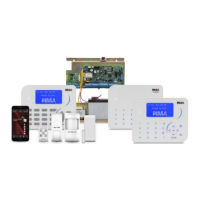
3.8 Keypads
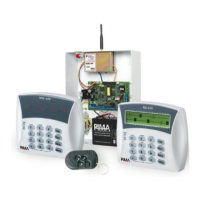
Reminder: The system can monitor up to 8 keypads
Connect the keypad’s wires to the PCB KEYPAD terminals. The 4 keypad wires
must be separated from other wires
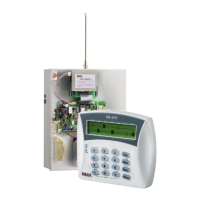
3.8.1 RXN-400 & RXN-410 LCD Keypads (Incl. ACE)
Control panel
Keypad #1
Keypad #2
Keypad #8
….
.
.
1 JUN 08 12:40
RXN-410
1 JUN 08 12:40
RXN-410
-
+INOUT
KEYPAD
1 JUN 09 12:40
RXN-
410
Figure 29. Connecting 8 LCD keypads
Keypads Control Panel
- -
+ +
OUT IN
IN OUT
To set the keypad’s ID:
1) Short JP1 pins 1 & 2
2) The message onscreen should be: “Enter new ID: 0”. Enter the new ID (1 to 8)
3) Short JP1 pins 2 & 3 back.
4) Repeat the process above for the remaining keypads. Note that each keypad must
have a unique ID and that numbering must be consecutive
 Loading...