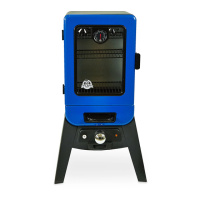
ENGLISH
12
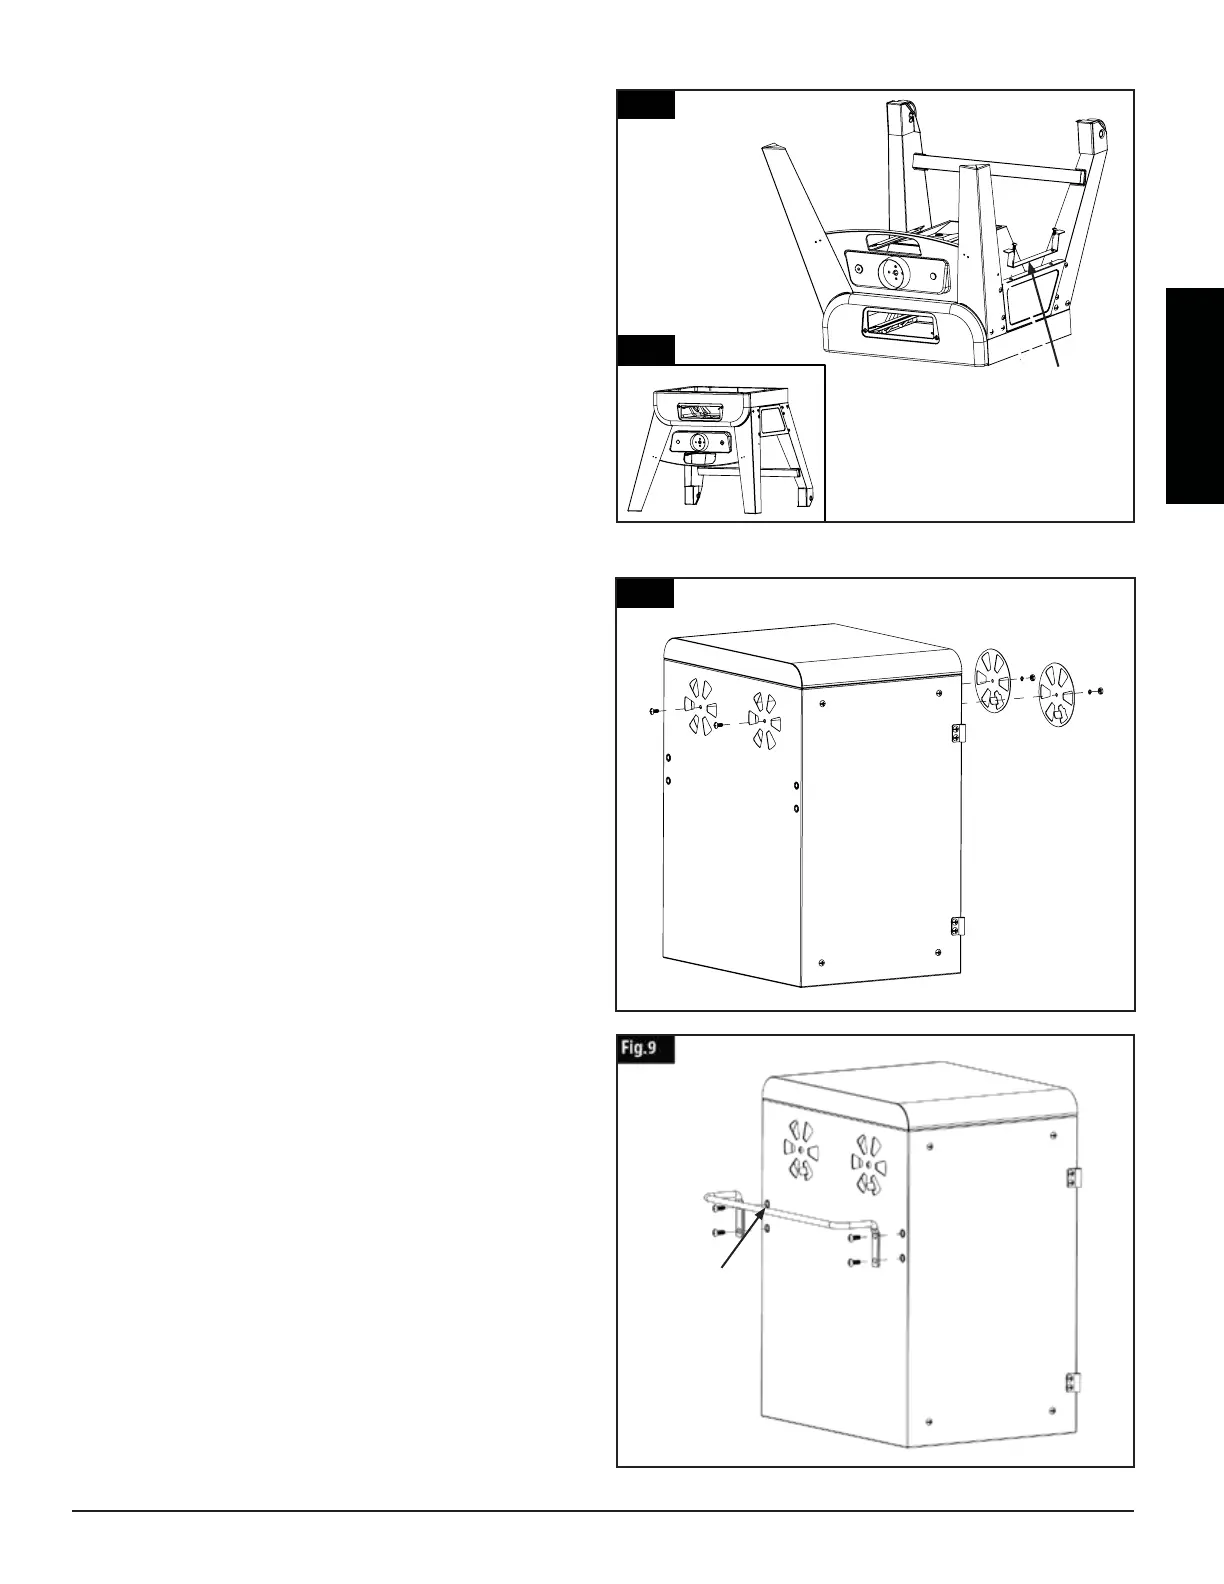
7.
Parts Required:
1 x Support Panel (#20)
1 x Power Cord Bracket (#26)
2 x #10-24*1/2”Screw (#C)
Installation:
• Mount Power Cord Bracket (#26) onto the
left side of Support Panel (#20) using 2 x
#10-24*1/2”Screw (#C) as Fig.7 & Fig.7.1 shown.
Note: Turn the Lower Smoker Cabinet with Control Panel and
Legs Assembly Right Side Up as Fig.7.1 shown and tighten all
screws now.
8.
Parts Required:
1 x Upper Smoker Cabinet Assembly (#2)
2 x Damper (#1)
2 x #10-24*1/2”Screw (#C)
2 x #10-24 Nut (#D)
2 x M5 Spring Washer (#E)
Installation:
• Mount Dampers (#1) to the Upper
Smoker Cabinet Assembly (#2) using 2 x
#10-24*1/2”Screws (#C), 2 x M5 Spring Washer
(#E) and 2 x #10-24 Nut (#D) as Fig.8 shown.
9.
Parts Required:
1 x Upper Smoker Cabinet Assembly (#2)
1 x Back Handle (#3)
4 x 1/4-20*5/8”(#A)
Installation:
• Mount Back Handle (#3)to the Upper
Smoker Cabinet Assembly (#2) using 4 x 1/4-
20*5/8”(#A) as Fig.9 shown.
Fig.8
1
Fig.7.1
26
3
 Loading...