3.9.7 Controller Installation
Controller is mounted in any place convenient for the
driver (personnel). Secure the PU-5 panel with double-
sided adhesive tape, a bracket, or any other way.
- double-sided tape, attached to the rear surface of the
Controller. The connecting wire can be led out of the
Controller housing through the back cover, or through the
side surface of the housing, by removing the partition.
Before installing the Controller, first degrease the
installation surface, then remove protective film from the
adhesive tape, and attach the Controller to the prepared
surface.
- bracket (Fig.28), fastened to the panel with screws.
The wire is led out of the Controller housing through the
back cover. The Controller snaps to the bracket with an
audible click.
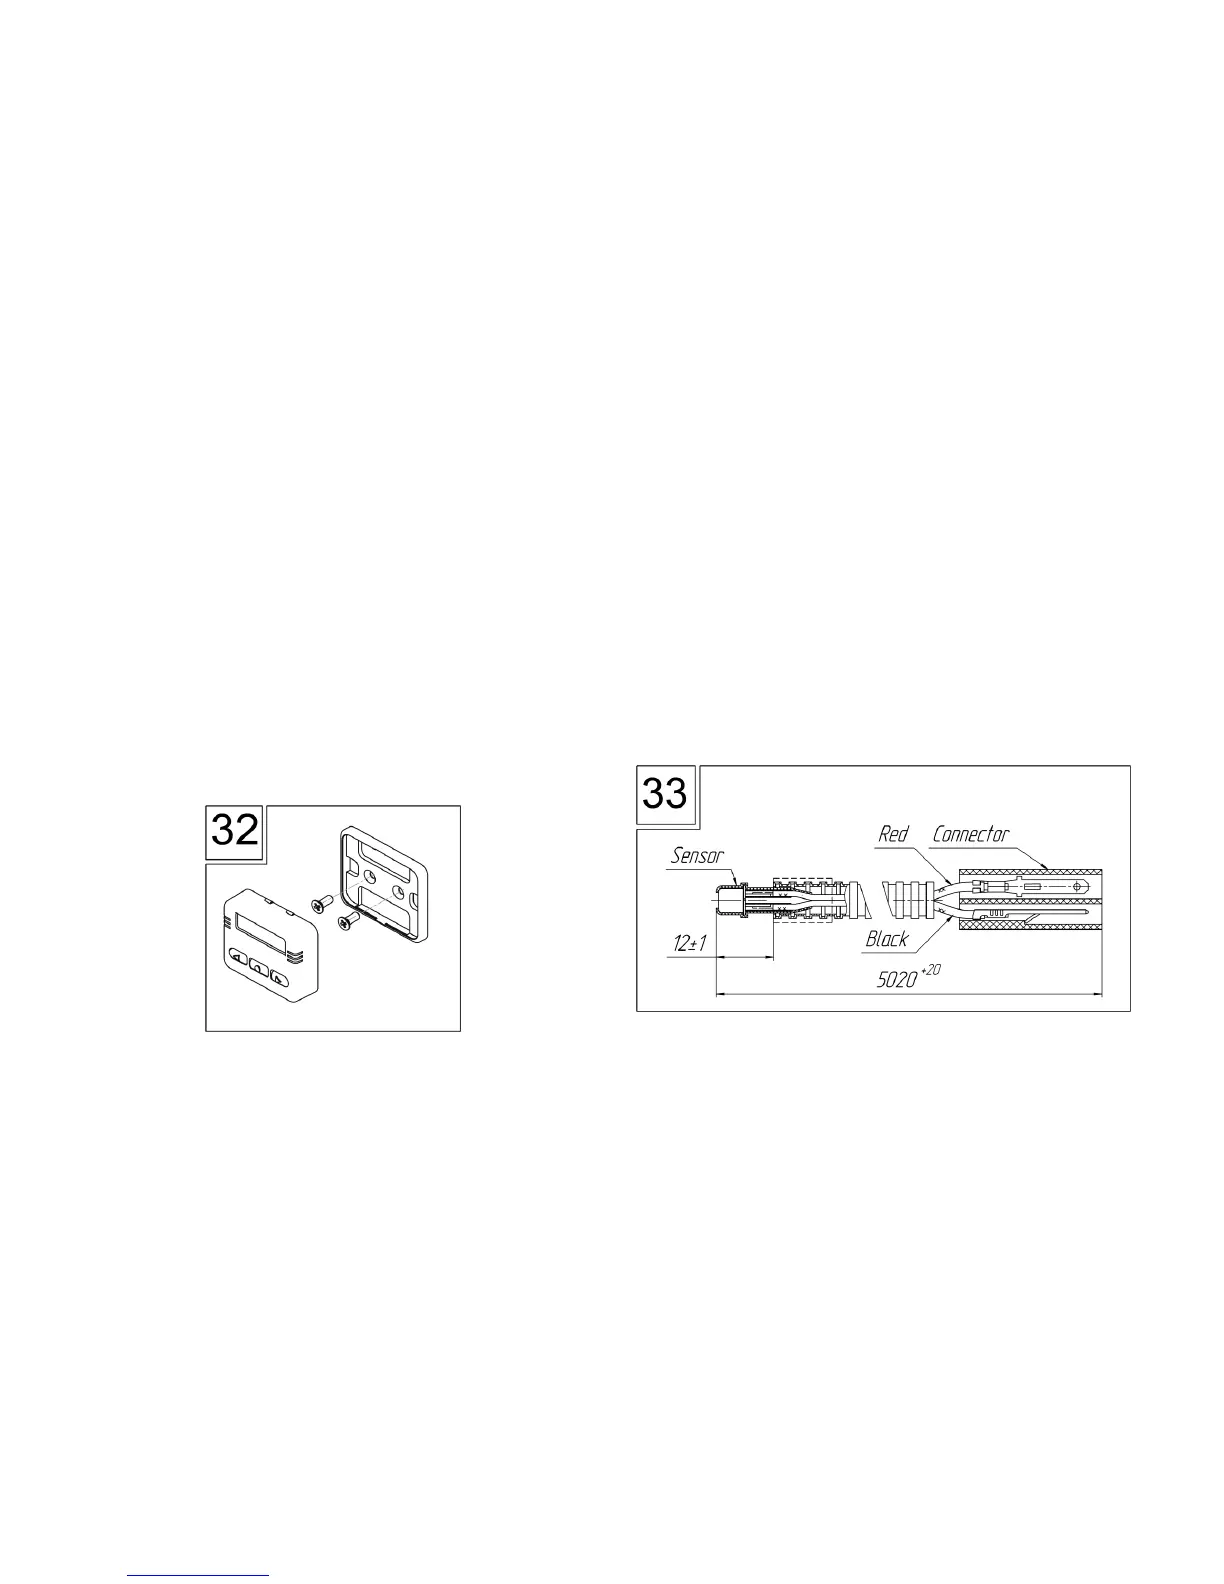
3.9.8 Cab Sensor Installation
The cabin sensor (Fig. 33) measures air temperature in the
area of its installation and allows the heater to maintain the set
temperature. The maximum length of the cabin sensor cable is
5000mm. The sensor is mounted in a convenient for the driver
(personnel) place. The sensor must be installed at an average
height, onto a vertical surface inside a heated area or where
comfortable temperature needs to be maintained.
The temperature sensor should not:
Be located directly in the stream of heated air (from
the vehicle heating system or the heater itself);
Be close to heat sources;
Be exposed to direct sunlight;
Be covered with cloth or the like.