Chapter 3: Operation
Reading Disc
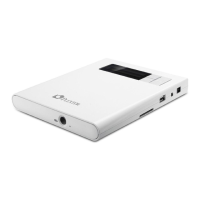
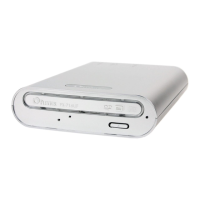
When the drive is connected to your notebook, it works as an external ODD (optical disc drive).
Connect the drive and your notebook using the USB cable.1.
Connect the AC/DC adapter and turn on the drive (optional).2.
Press the 3. Eject button to eject the tray and then place the disc on the tray.
Close the disc tray.4.
The computer automatically detects the drive and starts accessing the data.5.
To write to CD or DVD media (recordable or rewritable), you need to install and use a 6.
burning software.
Note:
Do not disconnect the USB cable while the drive is reading data.•
The card reader and USB port will not work when connected as ODD to a PC.•
If your notebook cannot supply the standard USB2.0 power, you can use the AC/DC adapter as the •
auxiliary power source.
If the external power bank cannot sustain the power during the disc burning process, both the •
burning process and disc will fail. If user wants to eject the disc, connect the AC/DC adapter and turn
on the drive. Then press the Eject button to get the failed disc.
Disc to Disc Backup
The drive supports direct disc copy without connecting the drive to a computer and without the
use of a burning software. With this feature, you can directly copy a disc to one or more discs.
Note:
A USB drive is required to temporarily save the disc content before copying to the target disc.
Disc Type Required Capacity for USB drive
CD - CD at least 700 MB is needed
DVD - DVD at least 5GB for single layer DVD
DVD - DVD at least 9 GB for double layer DVD
Connect the AC/DC adapter and turn on the drive.1.
Press the 2. Eject button to eject the tray and then place the disc that you want to copy on the
tray.
Close the disc tray. 3.
Plug in a USB drive to the USB port of the drive. A message similar to “4. USB -> DVD+R. Press
to Start” should appear on the LCD display.
Make sure to use a USB drive with sufficient free space. -
 Loading...